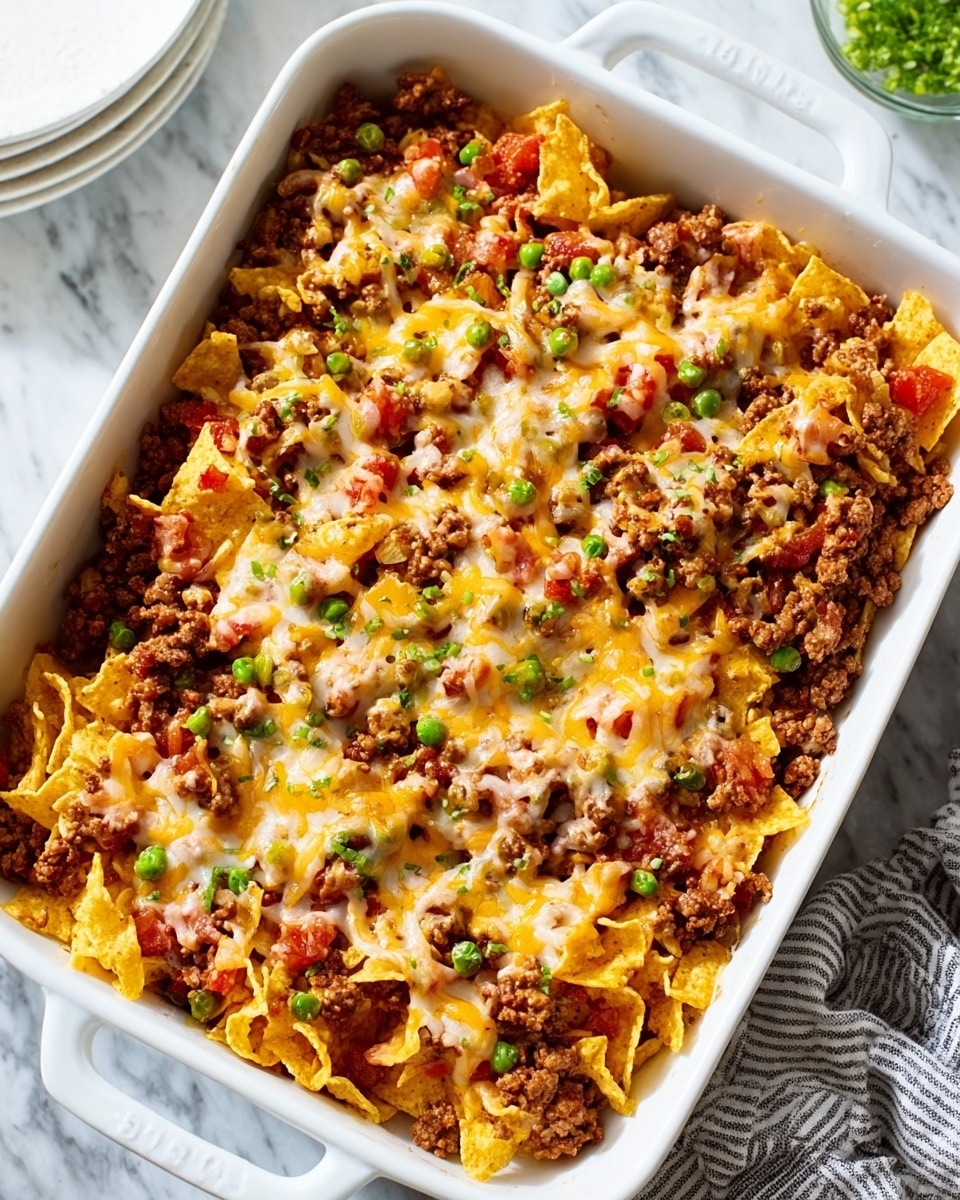
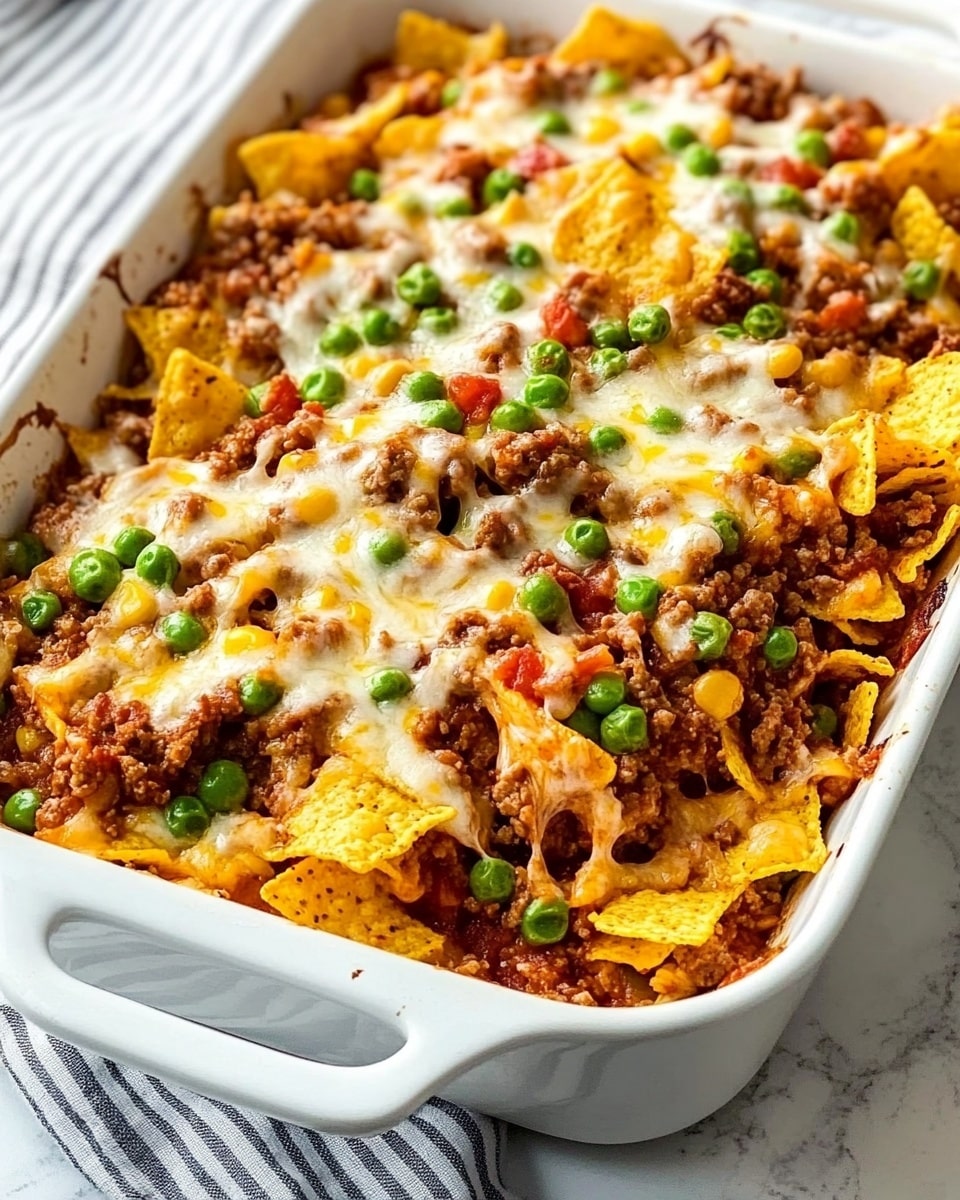
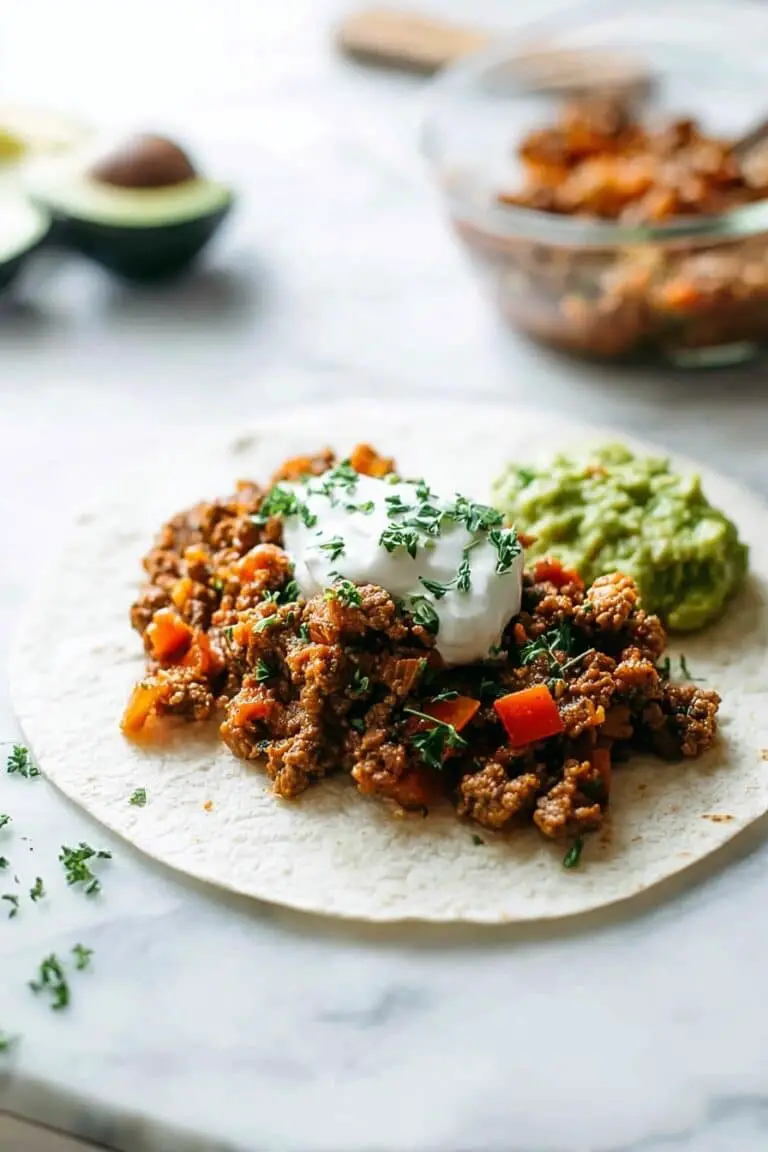
If you’ve ever loved the idea of walking tacos but wished for an easier, mess-free way to enjoy all those savory flavors, this Walking Taco Casserole Recipe is going to be your new best friend. It’s like all the fun of taco night bundled into a cozy, cheesy casserole that’s perfect for busy weeknights or casual get-togethers. I absolutely love how this turns out—easy to whip up, and it always satisfies that craving for something hearty and flavorful.
When I first tried this Walking Taco Casserole Recipe, I was amazed at how the classic elements of walking tacos—ground beef, beans, corn, and that delightful crunch from corn chips—come together in one warm, comforting dish. You’ll find that it’s incredibly versatile, too; you can dress it up with whatever toppings your family enjoys, and it’s always a crowd-pleaser. Plus, cleanup is a breeze compared to individual walking taco bags!
Why You’ll Love This Recipe
- Comfort Food Made Easy: This casserole simplifies all your favorite walking taco ingredients into one dish without any fuss.
- Family-Friendly and Customizable: Everyone can add their favorite toppings, so picky eaters and taco lovers alike get exactly what they want.
- Great for Any Occasion: Whether it’s a casual dinner, game day, or potluck, this recipe is a guaranteed hit that’s easy to transport and serve.
- Wallet-Wise Ingredients: You won’t break the bank, as most of the ingredients are pantry staples and grocery-store staples.
Ingredients You’ll Need
The ingredients in this Walking Taco Casserole Recipe come together beautifully to hit all the right notes—savory beef, a bit of spice, creamy beans, and crunchy corn chips. I always recommend choosing fresh onions and good-quality taco seasoning for the best flavor.
- Canola oil: It’s neutral in flavor and great for browning the beef evenly without smoking.
- Ground beef: Choose 80/20 for juicy, flavorful meat that’s not too greasy.
- Small onion: Adds sweetness and sharpness; chopping it finely speeds up cooking.
- Taco seasoning packet: Helps keep the flavors consistent and easy, but you can make your own spice mix too.
- Diced tomatoes and green chiles (canned): Provides a nice mild heat and moisture to keep the filling juicy.
- Pinto beans (canned): Adds creaminess and protein, plus they’re a nice textural contrast.
- Whole kernel corn (canned): Sweet corn kernels brighten up the dish and give a pop of sweetness.
- Corn chips: The magic crunch that mimics that walking taco experience in casserole form.
- Shredded Mexican cheese blend: Melts beautifully and combines flavors of cheddar, Monterey Jack, and more.
- Toppings: Sliced green onion, olives, pico de gallo, sour cream, avocado or guacamole, and jalapeños add freshness and zing when it’s time to serve.
Variations
One of the best things about this Walking Taco Casserole Recipe is how easy it is to customize. Over the years, I’ve tweaked it for everything from quick weeknight meals to party-sized feasts, and you’ll get lots of ideas here to make it your own.
- Vegetarian Version: Swap out the ground beef for crumbled tofu, lentils, or meatless crumbles. I tried lentils once and loved the extra fiber and texture it brought without missing meat.
- Spice it Up: Add extra jalapeños or a dash of cayenne pepper if you like things hot—my family goes crazy for the spicy twist!
- Different Beans: Sometimes I use black beans or kidney beans instead of pinto for variety and a slightly different flavor profile.
- Cheese Alternatives: Try pepper jack for a little kick or a dairy-free cheese to suit dietary needs; it still melts up wonderfully.
How to Make Walking Taco Casserole Recipe
Step 1: Brown the Beef and Build Your Flavor Base
Start by heating the canola oil over medium heat in a large skillet. Add your ground beef and chopped onion, cooking until the beef is nicely browned and the onions soften—about 6 to 7 minutes. Trust me, don’t rush this step; browning the beef properly adds so much more flavor. Drain excess fat if needed, then stir in the taco seasoning mix along with the diced tomatoes and green chiles. Bring everything to a gentle simmer, stirring constantly for 2 to 3 minutes until it thickens up just right.
Step 2: Add Beans and Corn for Texture
Once your seasoned beef is thick and fragrant, stir in the rinsed pinto beans and drained corn kernels. The beans give it a creamy body while the corn adds little sweet bursts—this combo really makes the casserole stand out from regular taco dinners.
Step 3: Layer It Up and Bake
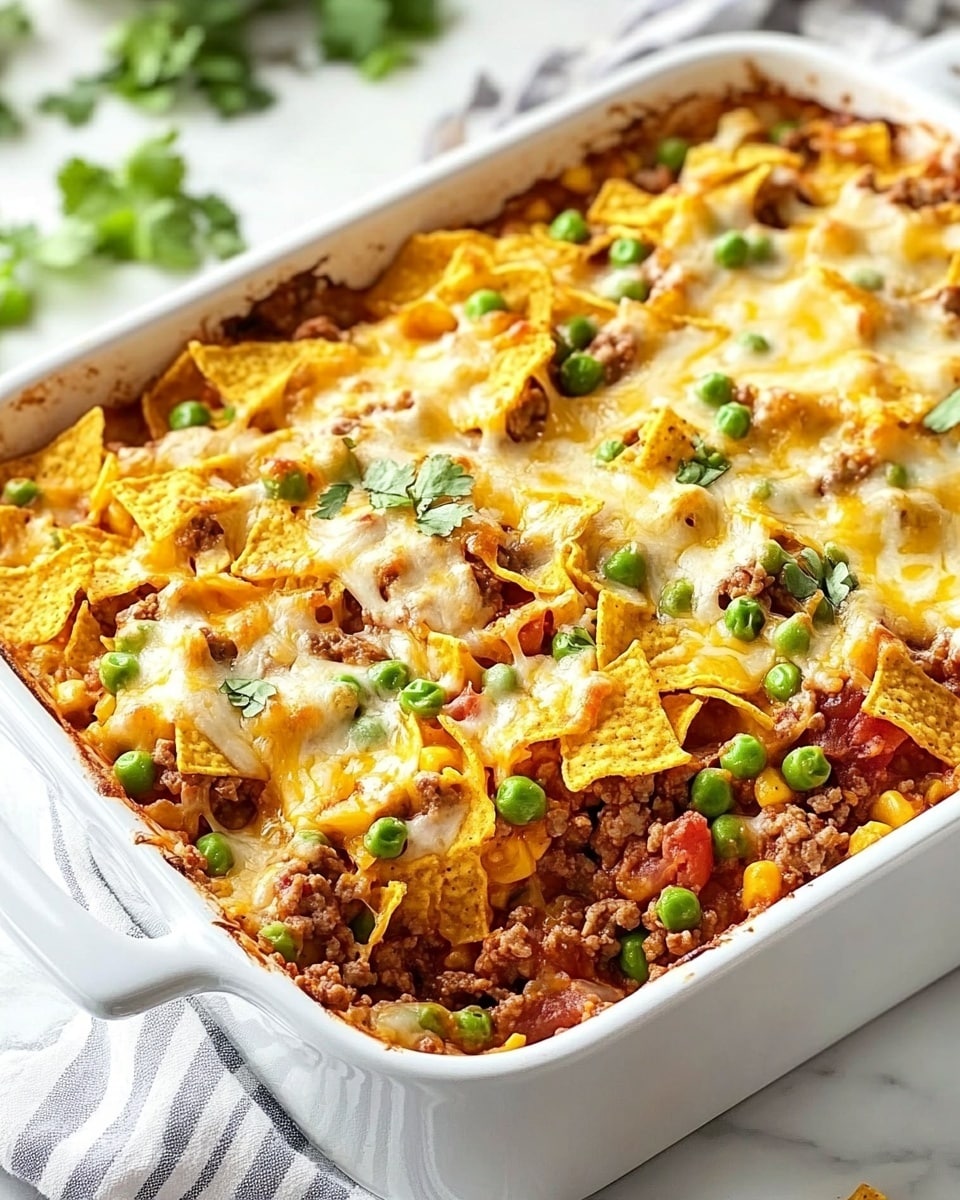
Grease a 13 x 9-inch baking dish and spread a layer of corn chips evenly on the bottom. Pour your taco meat mixture over the chips, spreading it out smoothly. Sprinkle the shredded Mexican cheese blend generously over the top. Pop it into a 350°F oven and bake for 15 to 20 minutes until the cheese is bubbly and golden around the edges. That bubbling cheese aroma is the moment you know dinner’s ready!
Pro Tips for Making Walking Taco Casserole Recipe
- Use Fresh Onions: I find finely chopping onions helps them cook faster and blend seamlessly with the beef.
- Don’t Overbake: Keep an eye on the cheese bubbling; overbaking dries out the casserole and makes the chips soggy.
- Layer Strategically: Placing chips on the bottom keeps them crunchier than mixing them into the filling.
- Drain Well: Be sure to drain your beans and corn well to avoid extra moisture in your casserole.
How to Serve Walking Taco Casserole Recipe
Garnishes
I love topping my casserole with sliced green onions for that fresh pop of color and bite. Sour cream adds creamy tang, while chopped avocado or guacamole brings smooth richness. My family can’t get enough of jalapeños and sliced black olives for a quick spicy and savory combo. You really can’t go wrong with pico de gallo for freshness—we always keep it on hand.
Side Dishes
This casserole pairs perfectly with simple sides like a crisp green salad or Mexican-style rice. Sometimes I serve it with refried beans or a light slaw with lime dressing to cut through the richness. For a fun twist at parties, I add chips and salsa on the side for extra crunch.
Creative Ways to Present
If you’re serving this at a casual party, try baking it in individual ramekins or mini cast iron skillets—your guests will appreciate the personal touch! Another fun idea I discovered is layering it like a taco dip in a clear glass casserole dish so you can see all the colorful layers right through—it’s a real conversation starter.
Make Ahead and Storage
Storing Leftovers
I usually cool leftover walking taco casserole completely, then store it in an airtight container in the fridge. It keeps really well for up to 3 days, and I find the flavors actually taste even better the next day once everything has melded together.
Freezing
If you want to prep ahead, this casserole freezes nicely either before baking or after. I wrap it tightly with foil and plastic wrap to avoid freezer burn. When you’re ready, thaw overnight in the fridge and bake as usual, adding a few extra minutes if needed.
Reheating
Reheat leftovers covered in a 350°F oven for about 15 minutes or until warmed through to keep the cheese melty and the chips from getting too soggy. Microwaving works in a pinch but tends to make the chips less crunchy.
FAQs
-
Can I make this Walking Taco Casserole Recipe gluten-free?
Absolutely! Just double-check that your taco seasoning and corn chips are labeled gluten-free. Most brands are naturally gluten-free, but it’s always safe to read the labels if you’re cooking for someone with celiac or gluten intolerance.
-
What can I substitute if I don’t have canned pinto beans?
You can easily swap those for black beans, kidney beans, or even chickpeas. Just rinse and drain them well before adding. Different beans will change the flavor slightly but still keep the texture rich and delicious.
-
Is there a way to make this recipe vegetarian?
Definitely! Replace the ground beef with cooked lentils, crumbled tofu, or plant-based meat substitutes. You can keep all the other ingredients the same and still enjoy the classic walking taco flavors.
-
Can I prepare this casserole ahead of time and refrigerate before baking?
You sure can! Layer everything in the dish, cover tightly with foil or plastic wrap, and refrigerate for up to 24 hours. When you’re ready, just bake as directed—this is a huge time-saver for busy days.
Final Thoughts
This Walking Taco Casserole Recipe holds a special place in my kitchen because it manages to capture all those beloved taco flavors in such a simple, comforting way. Whether you’re feeding a hungry family or hosting friends, it’s a recipe that brings everyone together with minimal effort and maximum satisfaction. I can’t wait for you to try it—you’ll enjoy the warm, cheesy goodness and the versatility that makes it a weeknight favorite or party staple. Trust me, once you do, this one will become a regular go-to!

