

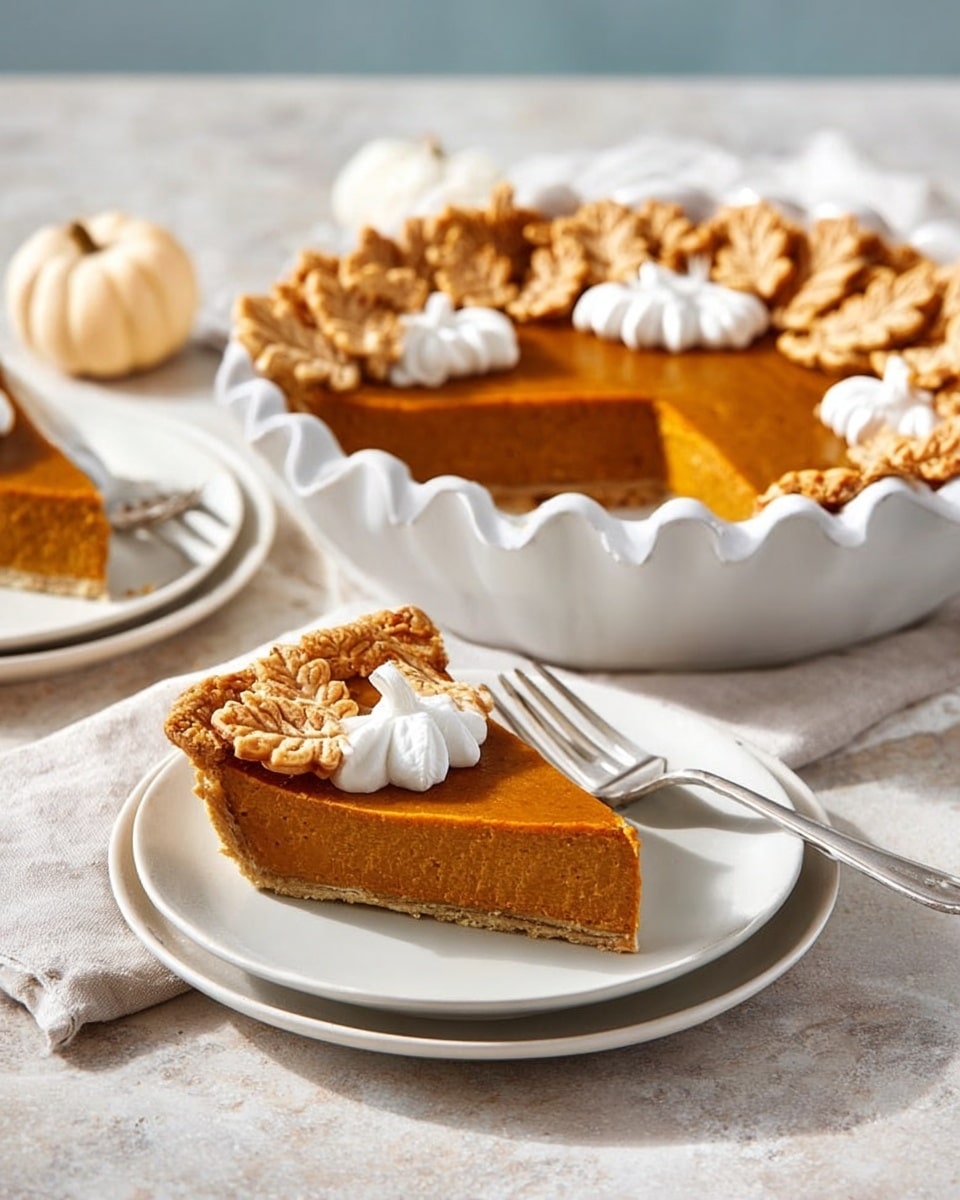
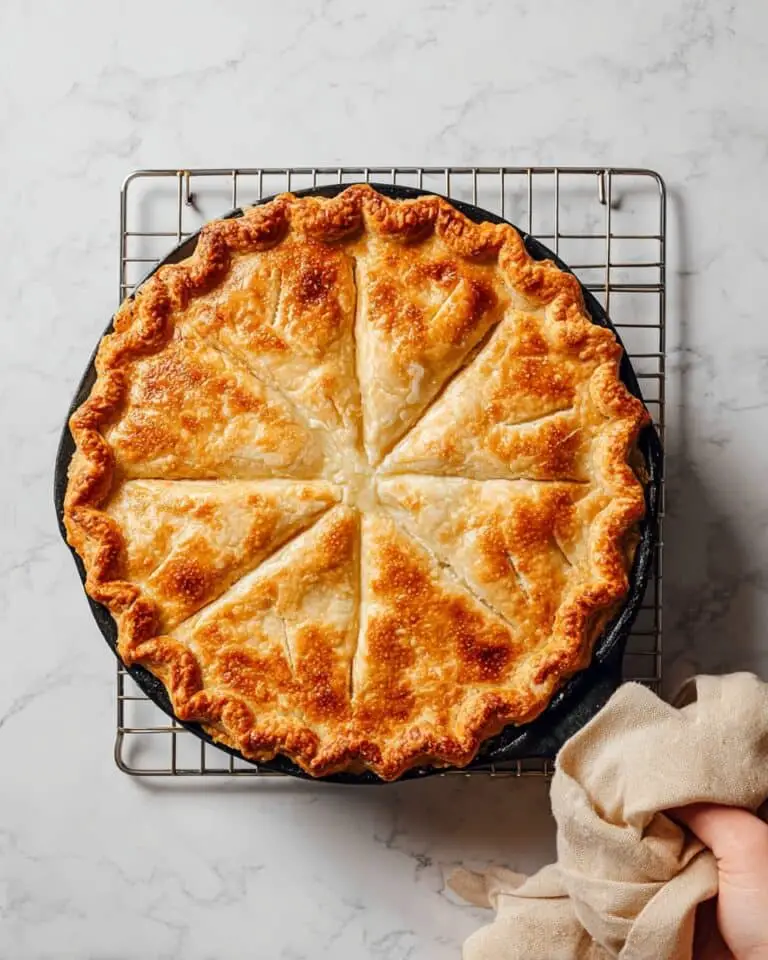
If you’re looking to wow your friends and family this season, I absolutely love sharing my Homemade Pumpkin Pie with Decorative Vines and Leaves Recipe. It’s the perfect blend of classic comfort and charming presentation, and trust me, your guests will be asking for the recipe (or at least for seconds). The combination of a tender, flaky crust with that rich, spiced pumpkin filling is everything you want in a fall dessert — and the decorative dough accents add such a delightful homemade touch.
Why You’ll Love This Recipe
- Ultimate Fall Flavor: The spices blend perfectly to give you that nostalgic pumpkin pie taste, elevated with little nuances.
- Beautiful Decorative Touch: The decorative vines and leaves aren’t just pretty—they bring a fun, personal flair that guests love.
- Homemade Crust Bliss: I used to shy away from homemade dough, but this recipe’s foolproof crust makes it worth the effort.
- Perfect Make-Ahead Dessert: It chills overnight beautifully, so you can prep ahead for any celebration or holiday.

Ingredients You’ll Need
For this recipe, you’re using simple, classic ingredients that come together in a way that feels both comforting and special. The key is quality pumpkin puree and fresh spices—trust me, it makes a huge difference!
- All-purpose flour: The base for our flaky crust—look for unbleached for the best texture.
- Salt: Just a pinch brings all the flavors in your dough and filling to life.
- Shortening: This keeps your pie crust tender and flaky—if you prefer, you can substitute with cold butter, but shortening usually gives a lighter texture.
- Cold water: Keeps the dough moist without getting sticky, so chilling it after mixing is key.
- Eggs: Help bind that filling while giving it a rich depth.
- Canned pumpkin: Make sure it’s pure pumpkin, not pumpkin pie filling; it gives you control over the spices and sweetness.
- Brown sugar: Adds warmth and a lovely caramel hint to your pie.
- Ground cinnamon: Essential spice for that classic pumpkin flavor.
- Ground cloves, nutmeg, and ginger: These spices deepen the complexity—if you’re like me, fresh ground makes all the difference.
- Evaporated milk: Creamy without being heavy, it makes the filling silky smooth.
- Beaten egg (for decorations): Gives your decorative leaves and vines a beautiful golden shine.
Variations
One of the things I love about this Homemade Pumpkin Pie with Decorative Vines and Leaves Recipe is how easy it is to customize. Whether you prefer it a little less sweet or want to swap some spices, you can make it suit your taste perfectly.
- Spice it up or down: I once added a pinch of cardamom for a unique twist that my family raved about—it’s subtle but adds extra warmth.
- Crust alternatives: For a gluten-free option, I’ve swapped all-purpose flour for a gluten-free blend with great results; just watch your dough closely as it bakes.
- Dairy-free filling: Instead of evaporated milk, try canned coconut milk—they bring a lovely creaminess and hint of tropical flavor.
- Decorative twist: You can personalize the leaves and vines shapes or add small pumpkin shapes for kid-friendly fun.
How to Make Homemade Pumpkin Pie with Decorative Vines and Leaves Recipe
Step 1: Crafting Your Flaky Pie Crust
Start by mixing 2 cups of all-purpose flour and ¾ teaspoon salt in a large bowl. Cut in ⅔ cup shortening until the mixture looks crumbly like coarse sand. Here’s a trick I learned: keep your shortening cold and work quickly to prevent it from melting—that’s what creates that perfect flakiness. Then, drizzle 4 to 6 tablespoons of cold water gradually, tossing with a fork until it starts to hold together in a ball. Divide the dough in half, wrap in plastic, and let it chill in the fridge for at least 30 minutes before rolling out.
Step 2: Rolling and Preparing the Decorative Crusts
On a floured surface, roll each dough half to about 12 inches in diameter to fit your 9-inch pie plate. Gently place each crust into the pie plates, trimming to leave about a ½-inch overhang for crimping. I love using my fingers to flute the edges—it feels a bit like crafting, and the rustic edges look homemade and welcoming.
Step 3: Making the Pumpkin Filling
Beat 6 large eggs in a large bowl, then stir in a 29-ounce can of pumpkin puree, 2 packed cups brown sugar, 2 teaspoons cinnamon, 1 teaspoon salt, and ½ teaspoon each cloves, nutmeg, and ginger. Mix until just combined (over-beating can toughen the texture). Slowly add 2 cups evaporated milk and stir everything together gently. Pour this luscious filling evenly into your prepared pie crusts.
Step 4: Baking Your Pies
Bake at 450°F for 10 minutes to help set the crust, then reduce heat to 350°F and bake for another 40-45 minutes. You’ll know it’s done when a knife inserted near the center comes out clean. I’ve learned to tent the edges with foil halfway through baking if they start to brown too quickly—this keeps crust and filling perfectly balanced. Let the pies cool on a wire rack for an hour before chilling them in the fridge for at least 3 hours (overnight is ideal!).
Step 5: Crafting the Decorative Vines and Leaves
This is my favorite part—use extra dough to create charming pumpkins, vines, and leaves! Roll dough for vines and leaves to about 1/8-inch thickness. Cut narrow strips for vines, shaping them into coils and spirals, and use mini leaf cutters to create leaves, scoring veins with a knife for that realistic look. For little pumpkins, roll dough into balls, score ridges with a dull knife, and insert whole cloves as stems. Chill all decorations until firm, then brush with beaten egg and bake at 400°F: pumpkins for 15-20 minutes, and vines and leaves for 8-10 minutes until lightly golden. Once cooled, arrange them on the surface of your chilled pies—guests always comment on how cute this is!
Pro Tips for Making Homemade Pumpkin Pie with Decorative Vines and Leaves Recipe
- Keep Ingredients Cold: Always use cold shortening and cold water for the crust, and chill dough before rolling to ensure flaky texture.
- Don’t Overmix Filling: Mix your filling until just combined to avoid a tough or rubbery texture in your pie.
- Protect Your Crust Edges: Tent foil around crust edges if they brown too fast to keep them golden but not burnt.
- Decorations Go on Last: Bake your decorative dough pieces separately and add them only after the pie has chilled to keep them crisp and beautiful.
How to Serve Homemade Pumpkin Pie with Decorative Vines and Leaves Recipe
Garnishes
I love adding just a dollop of freshly whipped cream on each slice—sometimes with a sprinkle of cinnamon or finely chopped toasted pecans for a little crunch. A light drizzle of maple syrup can also deepen that cozy fall vibe wonderfully.
Side Dishes
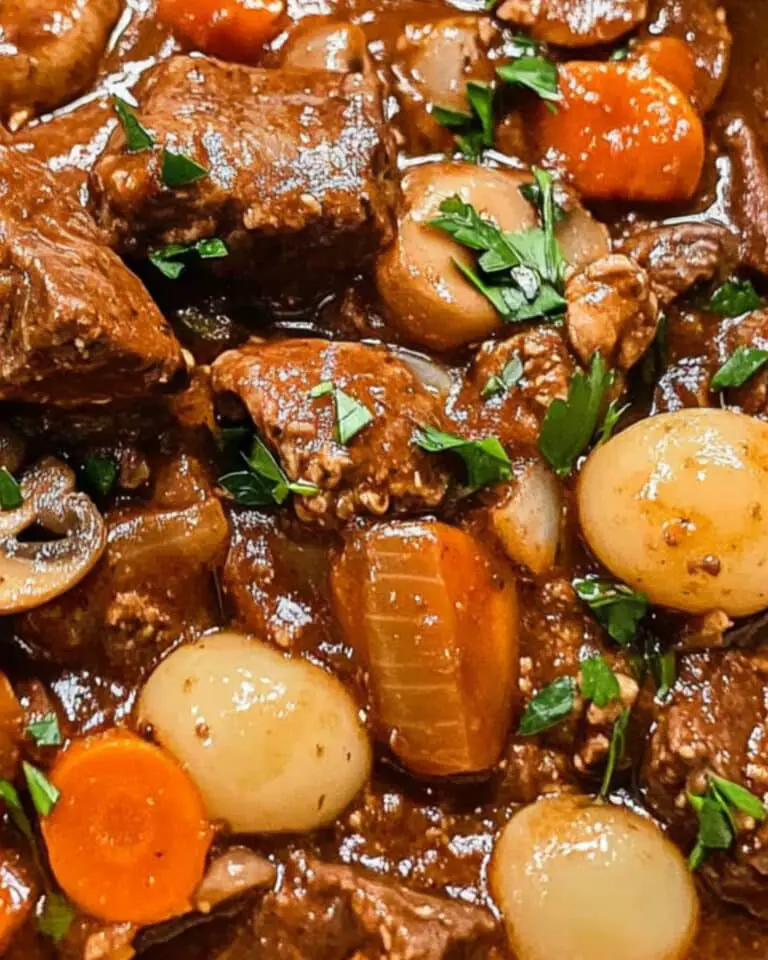
This pie pairs beautifully with warm drinks like spiced apple cider or your favorite latte. If you want to serve it with a meal, I’ve found light salads or roasted vegetables balance the richness nicely when pumpkin pie is the star dessert.
Creative Ways to Present
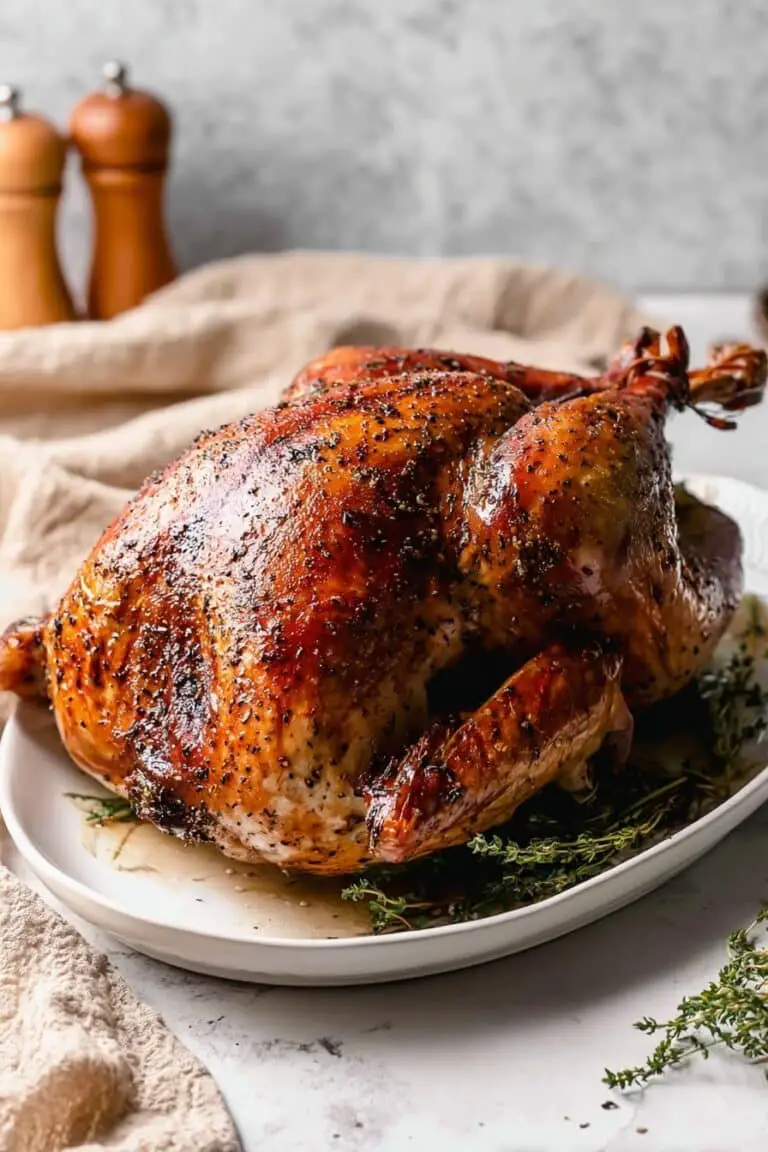
For Thanksgiving or a harvest party, I’ve arranged individual mini pies with their own decorative vines and leaves—it’s a showstopper! Also, placing your pie on a rustic wooden board surrounded by autumn leaves and cinnamon sticks adds a charming, cozy touch perfect for photos or festive tablescapes.
Make Ahead and Storage
Storing Leftovers
I always keep leftover pumpkin pie tightly wrapped in plastic wrap or stored in an airtight container and refrigerated. It stays fresh and moist for up to 4 days, making it super easy to enjoy again without sacrificing taste or texture.
Freezing
I froze slices wrapped individually in foil and placed in freezer bags—I was pleasantly surprised how well the texture and flavors held up after thawing overnight in the fridge. Just avoid freezing the decorative dough on top, as it doesn’t re-crisp well.
Reheating
To warm up leftovers, I set slices on a baking sheet and heated them in a 300°F oven for about 10 minutes—just enough to take the chill off without drying out the filling. Adding a little whipped cream after warming makes it feel fresh out of the oven.
FAQs
-
Can I use fresh pumpkin instead of canned for this recipe?
Absolutely! If you have fresh pumpkin, roasting and pureeing it yourself gives wonderful flavor. Just be sure to remove excess moisture after cooking so your pie filling isn’t too watery—straining it through cheesecloth for a bit helps.
-
Do I have to make the decorative vines and leaves?
Nope! The decorations are optional but add beautiful visual appeal. You can skip them or decorate with whipped cream and a sprinkle of cinnamon if you want something quicker and simpler.
-
How do I know when the pumpkin pie is fully baked?
Insert a knife or toothpick near the center; it should come out mostly clean with maybe a few moist crumbs, but not wet batter. Also, the filling will puff slightly and set around the edges but may still jiggle a bit in the center—that’s perfectly normal.
-
Can I prepare the pie crust ahead of time?
Yes! You can make your dough up to two days ahead and keep it tightly wrapped in the fridge. Just let it warm slightly before rolling to make it easier to work with.
Final Thoughts
Making this Homemade Pumpkin Pie with Decorative Vines and Leaves Recipe has become one of my favorite kitchen rituals. It’s such a rewarding blend of baking classic comfort with a personal decorative touch that really impresses. Whether it’s for a holiday, a cozy dinner, or just because you feel like treating yourself, this recipe consistently brings smiles to my table. I’m confident you’ll enjoy making and sharing it just as much as I do — so roll up your sleeves, have fun with those cute dough leaves, and savor every delicious bite!
Print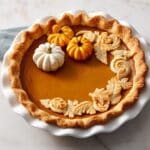
Homemade Pumpkin Pie with Decorative Vines and Leaves Recipe
- Prep Time: 20 minutes
- Cook Time: 50 minutes (10 minutes at 450°F + 40-45 minutes at 350°F)
- Total Time: Approximately 4 hours 10 minutes (including chilling time)
- Yield: 2 pies (8 servings each) 1x
- Category: Dessert
- Method: Baking
- Cuisine: American
Description
This classic Pumpkin Pie recipe features a flaky homemade crust filled with a rich, spiced pumpkin custard. Perfect for fall and holiday celebrations, the pie is baked to golden perfection and can be beautifully decorated with optional pie dough pumpkins, vines, and leaves for an impressive presentation.
Ingredients
Pie Crust
- 2 cups all-purpose flour
- 3/4 teaspoon salt
- 2/3 cup shortening
- 4 to 6 tablespoons cold water
Filling
- 6 large eggs
- 1 can (29 ounces) pumpkin
- 2 cups packed brown sugar
- 2 teaspoons ground cinnamon
- 1 teaspoon salt
- 1/2 teaspoon ground cloves
- 1/2 teaspoon ground nutmeg
- 1/2 teaspoon ground ginger
- 2 cups evaporated milk
Decorations (Optional)
- Dough for single-crust pie
- 1 large egg, beaten
Instructions
- Prepare the crust: Preheat oven to 450°F. In a large bowl, combine the flour and salt. Cut in the shortening until the mixture becomes crumbly. Gradually add cold water, tossing with a fork until a dough ball forms. Divide dough into two halves.
- Roll out crusts: On a floured surface, roll each dough portion to fit a 9-inch pie plate. Place crusts in pie plates and trim edges to 1/2 inch beyond plate rim. Flute the edges for an attractive finish.
- Make the filling: In a large bowl, beat the eggs. Stir in pumpkin, brown sugar, cinnamon, salt, cloves, nutmeg, and ginger, mixing just until combined. Gradually add evaporated milk while stirring gently.
- Fill and bake first phase: Pour the filling evenly into the prepared crusts. Bake pies at 450°F for 10 minutes to set the custard’s top layer.
- Bake second phase: Reduce oven temperature to 350°F and continue baking for another 40 to 45 minutes, or until a knife inserted near the center comes out clean. This ensures the filling is fully set without overbaking.
- Cool and chill: Place pies on wire racks to cool for 1 hour. Refrigerate the pies for at least 3 hours before serving to allow the filling to firm up and flavors to meld.
- Decorate with dough (optional): For decorative pumpkins, roll small dough balls, score with knife for ridges, press a whole clove for stems, refrigerate until firm, brush with beaten egg, and bake at 400°F for 15-20 minutes until golden. For vines, roll out dough 1/8-inch thick, cut strips, shape into coils on parchment, chill, brush with egg, and bake 8-10 minutes at 400°F. For leaves, cut out leaf shapes, score veins, chill, brush with egg, and bake 8-10 minutes. Arrange decorations atop chilled pie.
Notes
- Cold water is added gradually to achieve the right dough consistency; add 4 tablespoons first and more if needed.
- Use fresh spices for the best flavor in the pumpkin filling.
- Chilling decorative dough pieces ensures they hold shape during baking.
- Refrigerate leftover pie to keep it fresh up to 3-4 days.
- Use parchment paper for baking decorations to prevent sticking and ensure even baking.
Nutrition
- Serving Size: 1 slice (1/8th of a pie)
- Calories: 375 kcal
- Sugar: 25 g
- Sodium: 290 mg
- Fat: 19 g
- Saturated Fat: 7 g
- Unsaturated Fat: 10 g
- Trans Fat: 0 g
- Carbohydrates: 45 g
- Fiber: 3 g
- Protein: 6 g
- Cholesterol: 140 mg

