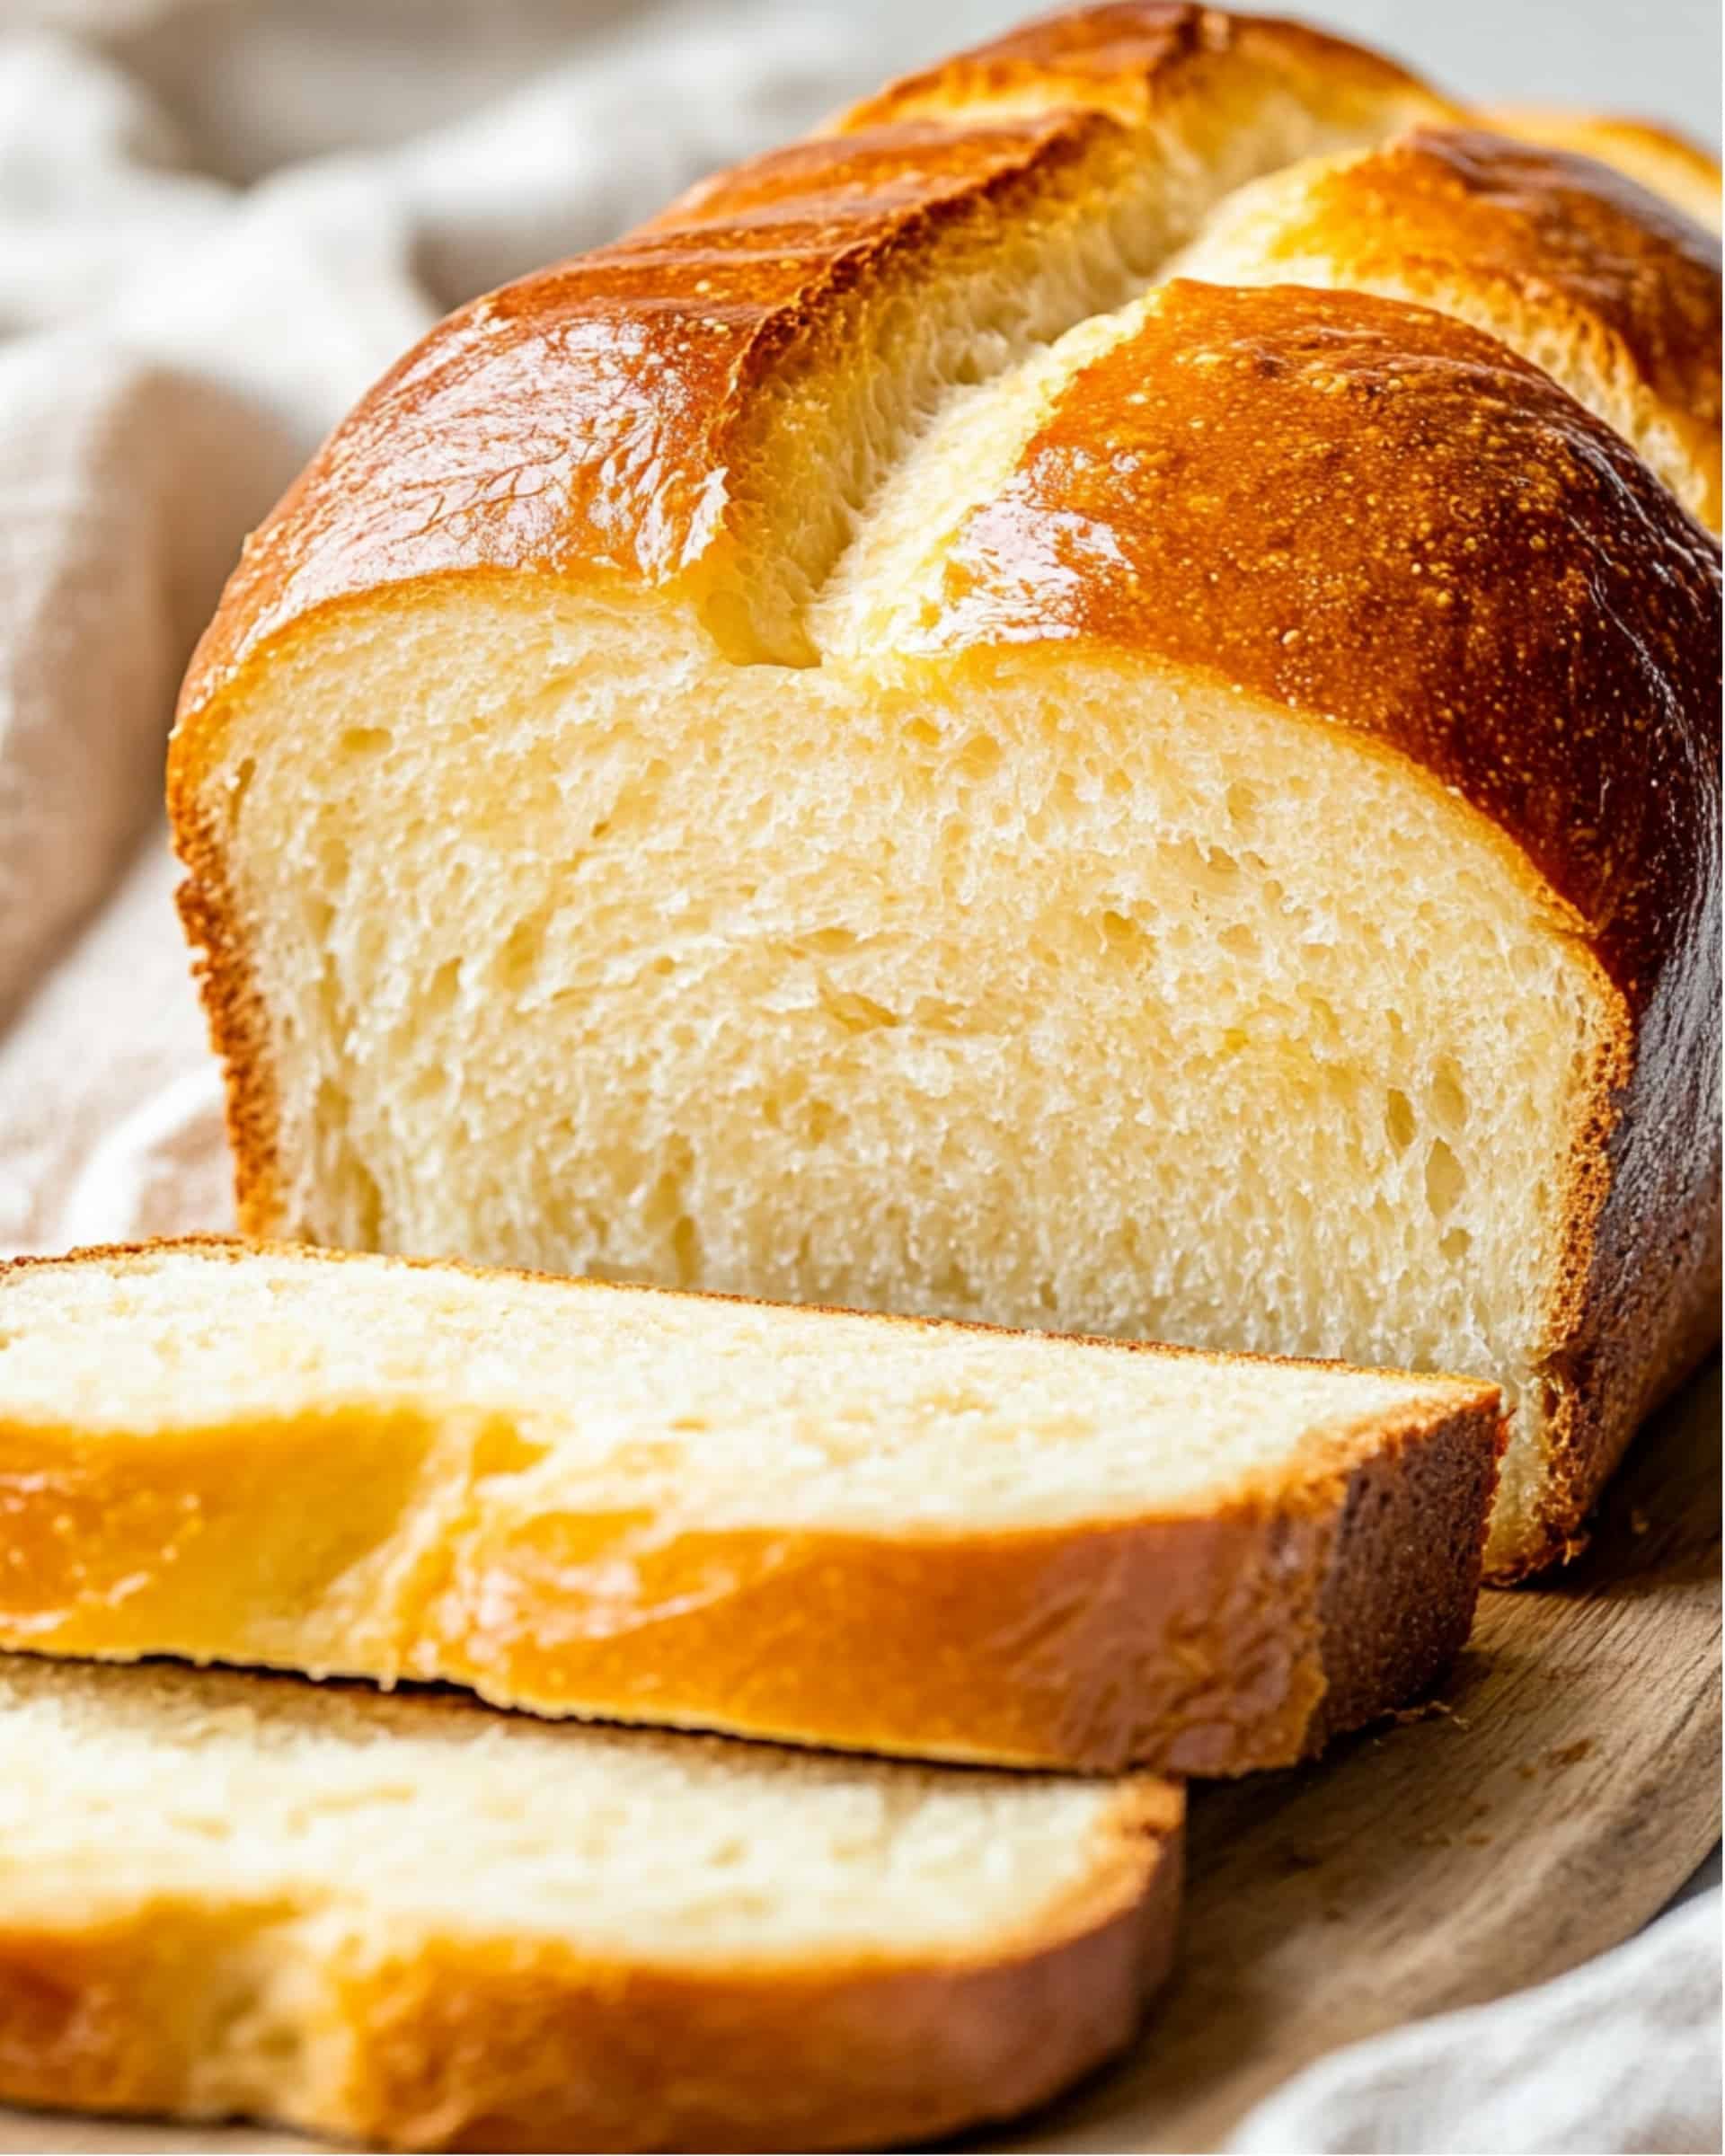
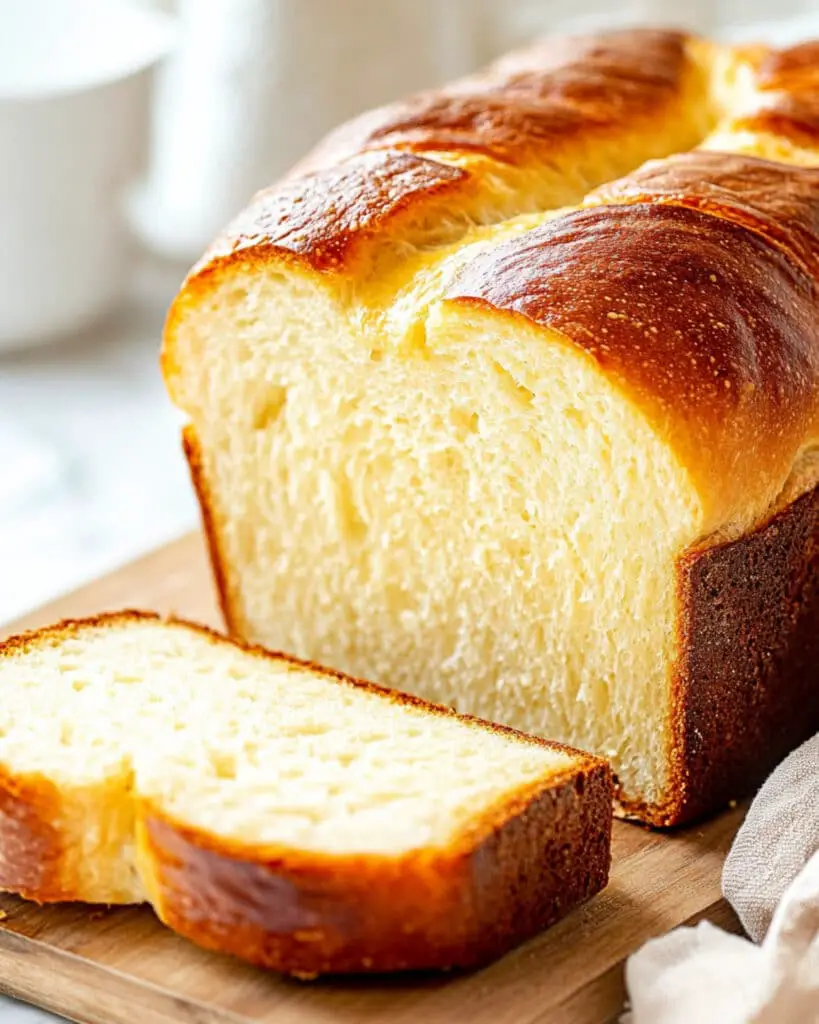
This luxurious Homemade Brioche Bread is simply irresistible – with its buttery, tender interior and gloriously golden crust, it’s the bread that will make you feel like a master baker in your own kitchen. Don’t be intimidated by its fancy French name – this recipe breaks it down into manageable steps that even first-time bread makers can tackle with confidence!
Why You’ll Love This Recipe
- Impressive Results: Nothing beats the satisfaction of pulling perfectly braided loaves of brioche from your oven – your kitchen will smell like a Parisian bakery!
- Versatile Uses: This bread is the ultimate all-purpose loaf – sublime for breakfast toast, unbeatable French toast, gourmet sandwiches, or simply enjoyed warm with a smear of butter.
- Make-Ahead Friendly: The dough can be prepared in advance and refrigerated overnight, making it perfect for busy bakers who want fresh bread without the time crunch.
- Better Than Store-Bought: Once you taste homemade brioche, with its perfect balance of sweetness and richness, you’ll find it hard to go back to store-bought versions.
Ingredients You’ll Need
- Active Dry Yeast: The magical ingredient that brings your dough to life, giving it that perfect rise and airy texture.
- All-Purpose Flour: Forms the backbone of your brioche, providing structure while still keeping the bread tender.
- Granulated Sugar: Not just for sweetness – it feeds the yeast and helps achieve that beautiful golden-brown crust.
- Warm Milk: Activates the yeast and creates a soft, tender crumb in your finished bread.
- Eggs: Contribute richness, color, and structure – they’re what make brioche distinctly different from regular bread.
- Salt: The flavor enhancer that balances the sweetness and brings out the buttery goodness.
- Unsalted Butter: The star ingredient that gives brioche its signature rich flavor and melt-in-your-mouth texture. Make sure it’s properly softened for easy incorporation.
- Egg Wash: Creates that show-stopping glossy finish that makes brioche instantly recognizable.
Note: You’ll find the complete list of ingredients, along with their exact measurements, in the printable recipe card at the bottom of this post.
Variations
Whether you’re feeling creative or need to adapt to what’s in your pantry, try these delicious twists:
- Chocolate Brioche: Fold in 1 cup of chocolate chips or chunks before the first rise for a decadent treat.
- Cinnamon Sugar Swirl: Roll out the dough, sprinkle with cinnamon sugar, then roll up and braid for a morning-worthy variation.
- Savory Brioche: Reduce the sugar by half and add herbs like rosemary and thyme, plus a handful of grated Parmesan cheese.
- Individual Rolls: Instead of braided loaves, shape into small rolls and reduce baking time to about 18-20 minutes.
How to Make Homemade Brioche Bread
Step 1: Activate the Yeast
In your stand mixer bowl, combine the yeast with 1 cup of flour, sugar, and warm milk. Mix until you have a thick paste, then cover and let it sit for about 25 minutes. You’ll know it’s ready when the mixture looks bubbly and active – this is your yeast waking up and getting ready to work!
Step 2: Create the Dough
Add the remaining flour, eggs, and salt to your yeast mixture. Using the dough hook, mix on low speed for about 2 minutes until everything comes together. Continue kneading for 10-12 minutes – patience is key here! You’re looking for a silky, elastic dough that’s starting to develop that signature brioche texture.
Step 3: Incorporate the Butter
Now for the magic – add your softened butter one tablespoon at a time, making sure each addition is fully incorporated before adding the next. This gradual approach prevents the dough from becoming greasy. Once all butter is added, increase to medium speed and knead for another 15 minutes until the dough is smooth, pulls away from the bowl, and passes the finger-touch test.
Step 4: First Rise
Scrape the dough from the sides of the bowl, cover with a cloth, and let it rise in a warm spot for about an hour or until doubled in size. This is where the yeast really works its magic, creating those air pockets that give brioche its fluffy texture.
Step 5: Shape the Loaves
After punching down the dough to release air bubbles, divide it into two equal parts. For each part, create three equal pieces, roll them into ropes, and braid them together. Tuck the ends under and place each braided loaf into a greased loaf pan. The braiding isn’t just for looks – it creates an amazing texture in the finished bread!
Step 6: Second Rise
Cover your shaped loaves and let them rise again for about an hour, or until visibly puffy and doubled in size. This second rise is crucial for developing that perfect brioche texture.
Step 7: Bake to Golden Perfection
Brush your risen loaves with egg wash for that signature shine, then bake at 375°F for about 35 minutes until deeply golden brown. If they’re browning too quickly, simply tent with foil after 25 minutes. You’ll know they’re done when they sound hollow when tapped on the bottom.
Step 8: Cool and Enjoy
Let the loaves cool in the pans for a few minutes before transferring to a wire rack. Try to resist cutting into them right away – allowing them to cool properly sets the structure for perfect slices.
Pro Tips for Making the Recipe
- Cold Butter Technique: If your butter is too warm, pop it back in the fridge for 10 minutes – it should be soft enough to incorporate but firm enough to maintain structure.
- Patience With Kneading: Don’t rush the kneading process – those full 15 minutes after adding butter develop the gluten structure that gives brioche its unique texture.
- Watch Your Dough, Not the Clock: Rising times can vary based on kitchen temperature. Look for visual cues (doubled size, springy texture) rather than strictly following timing.
- Use a Scale: For consistent results, weigh your ingredients, especially the flour and butter – baking is chemistry, and accuracy matters!
- Room Temperature Eggs: Take your eggs out of the refrigerator an hour before starting – they’ll incorporate much more smoothly into the dough.
How to Serve
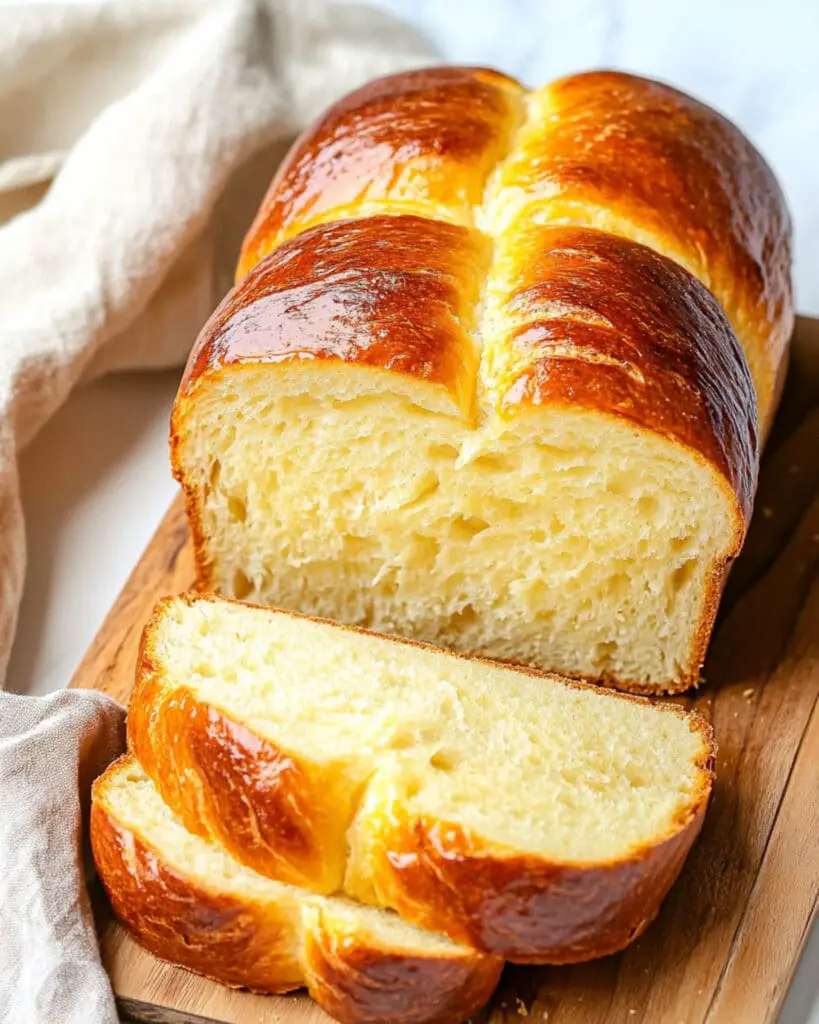
Brioche is incredibly versatile and can elevate almost any meal:
Breakfast Delight
Slice your brioche thick for the most incredible French toast you’ve ever had, or simply toast with a spread of jam or honey butter.
Gourmet Sandwiches
Use brioche for chicken salad, gourmet grilled cheese, or elevated ham and cheese sandwiches – the buttery flavor complements both savory and sweet fillings.
Bread Pudding
Leftover brioche (if such a thing exists!) makes spectacular bread pudding – just cube it up, soak in a custard mixture, and bake until golden.
Elegant Accompaniment
Serve alongside soups and stews for an impressive dinner addition that will have everyone reaching for another piece.
Make Ahead and Storage
Storing Leftovers
Store completely cooled brioche in an airtight container or bag at room temperature for up to 3 days. For longer storage, refrigerate for up to a week.
Freezing
Brioche freezes beautifully! Wrap cooled loaves tightly in plastic wrap, then foil, and freeze for up to 2 months. Alternatively, slice before freezing for easy toasting directly from frozen.
Make-Ahead Option
Prepare the dough through the first rise, then cover tightly and refrigerate overnight. The next day, let it come to room temperature for about 30 minutes before shaping, second rise, and baking.
Reheating
To refresh brioche, sprinkle with a few drops of water and warm in a 300°F oven for 5-10 minutes. This reactivates the buttery moisture for that fresh-baked taste.
FAQs
-
Can I make brioche without a stand mixer?
Yes, though it requires some elbow grease! You can mix the ingredients with a wooden spoon and then knead by hand for about 25-30 minutes. The key is to achieve a smooth, elastic dough that pulls away from your work surface. Just be prepared for a workout – the butter makes it a sticky process at first!
-
Why is my brioche dough so sticky?
This is completely normal! Brioche dough is naturally sticky because of its high butter and egg content. Resist the urge to add extra flour, as this will make your finished bread dense. Instead, use a bench scraper to handle the dough and lightly oil your hands if needed. As the butter incorporates fully during kneading, the dough will become smoother.
-
Can I use instant yeast instead of active dry yeast?
Absolutely! You can use instant yeast and skip the initial activation step. Simply mix all the dry ingredients together (including the yeast), then add the wet ingredients. You’ll need about 25% less instant yeast, so use about 5-6g instead of 7g.
-
My brioche didn’t rise as much as expected. What happened?
Several factors could cause this: your yeast might be old, the room might be too cold, or the dough might have been overworked. For best results, ensure your yeast is fresh, create a warm environment for rising (around 75-80°F), and follow the kneading times carefully. Also, be patient – brioche sometimes rises more slowly than lean doughs because of the fat content.
Final Thoughts
This Homemade Brioche Bread truly brings a touch of French bakery magic into your kitchen. Yes, it takes a bit of time and patience, but the results are absolutely worth it! There’s something deeply satisfying about creating this buttery, golden masterpiece from scratch – from watching the dough transform under your hands to filling your home with that intoxicating aroma. Whether you’re a seasoned baker or trying your hand at homemade bread for the first time, this recipe breaks down the process into manageable steps that lead to spectacular results. So tie on your apron, set aside a leisurely morning, and treat yourself to the incredible experience of crafting and savoring authentic brioche!
Print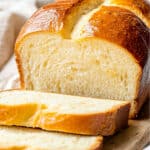
Homemade Brioche Bread Recipe
- Prep Time: 20 minutes
- Cook Time: 35 minutes
- Total Time: 55 minutes
- Yield: 2 loaves 1x
- Category: Bread
- Method: Baking
- Cuisine: French
Description
Making brioche bread at home is a delightful experience that yields a soft, rich, and buttery loaf with a golden crust. Perfect for breakfast, sandwiches, or dessert, this homemade brioche recipe guarantees light and pillowy bread with deep flavor. The intricate braiding gives it a stunning presentation, making it a bakery-quality treat right from your own kitchen!
Ingredients
Brioche Dough
- 0.25 ounces (7g) active dry yeast
- 5 3/4 cups (720g) all-purpose flour
- 1/3 cup (75g) granulated sugar
- 3/4 cup (180ml) warm milk
- 6 large eggs
- 1 teaspoon salt
- 1 1/4 cups (286g) unsalted butter, room temperature, softened
For the Egg Wash:
- 2 tablespoons water
- 1 large egg
Instructions
- Activate Yeast
In the bowl of a stand mixer, combine the yeast, 1 cup of flour, sugar, and warm milk. Mix until a thick paste forms. Cover lightly and let it sit for about 25 minutes until the yeast becomes active and bubbly. - Add Dry Ingredients
Once the yeast is bubbly, add the remaining flour, eggs, and salt to the bowl. Using the dough hook attachment, mix on low speed for 2 minutes to incorporate all ingredients. - Knead the Dough
Continue kneading the dough on low speed for 10-12 minutes until it becomes silky and elastic. This step is crucial to develop structure and texture. - Incorporate Butter
Gradually add the softened butter one tablespoon at a time, mixing on low speed and ensuring each addition is fully incorporated before adding the next. Occasionally scrape down the sides of the bowl to ensure even mixing. - Finish Kneading
Once all the butter is incorporated, increase the mixer speed to medium and knead for another 15 minutes. The dough should pull away from the sides of the bowl, feel smooth, and not stick to your finger when touched. - First Rise
Scrape the dough into a ball, cover the bowl with a clean cloth, and let it rise at room temperature for approximately 1 hour or until doubled in size. - Shape the Loaves
Once the dough has doubled in size, punch it down to remove air. Turn it onto a floured surface and divide it into two equal parts. For each part, divide it into three equal pieces, roll each piece into a rope, and braid them together. Pinch the ends to seal and place each braid into a greased 8×4 inch loaf pan. - Second Rise
Cover the loaf pans with a cloth and let them rest for another hour, or until the dough has doubled in size again. - Egg Wash & Bake
In a small bowl, whisk together the egg and water for the egg wash. Gently brush the egg wash over the risen loaves and transfer them to a preheated oven at 375°F (190°C). Bake for 35 minutes, or until the tops are deeply golden brown. If they brown too quickly, cover the loaves with aluminum foil after 25 minutes. - Cool Completely
Remove the loaves from the oven and allow them to cool in the pans for a few minutes. Then, transfer them to a wire cooling rack to cool completely before slicing.
Notes
- Watch Your Dough’s Texture: The dough will be sticky—this is normal and contributes to the soft texture. Avoid adding excess flour during kneading.
- Warm Place for Rising: Let the dough rise in a warm spot in your kitchen. If your kitchen is cold, use your oven with only the light turned on (but turned off for heat).
- Perform the Windowpane Test: After kneading, take a small piece of dough and stretch it gently. If it stretches thin without tearing, you’ve achieved optimal gluten development.
- Egg Wash for Shine: Brushing egg wash generously ensures the loaves have a shiny, golden crust.
- Use a Thermometer: Ensure the loaf is properly baked by checking its internal temperature. The center should register around 190°F.
- Don’t Overproof: Monitor the rise closely. Letting it rest too long after doubling in size can lead to collapsing during baking.
Nutrition
- Serving Size: 1 slice
- Calories: 270kcal
- Sugar: 6g
- Sodium: 250mg
- Fat: 12g
- Saturated Fat: 7g
- Unsaturated Fat: 4g
- Trans Fat: 0g
- Carbohydrates: 32g
- Fiber: 1g
- Protein: 6g
- Cholesterol: 70mg

