If you’re looking for a super fun and festive treat this holiday season, you’re going to adore this Christmas Tree Rice Krispies Treats Recipe. I absolutely love how these little green trees come together—crispy, chewy, and perfectly sweet with a pop of color that will make your holiday table shine. Plus, decorating them is half the fun, especially if you have little helpers around. Stick with me and I’ll share all my best tips for making these festive treats a hit in your kitchen!
Why You’ll Love This Recipe
- Festive and Fun: These treats bring that classic holiday cheer with a playful tree shape that everyone loves.
- Simple Ingredients: You probably already have everything on hand, so it’s easy to whip up last minute.
- Customizable Decoration: You can get as creative as you want with sprinkles and candies for a personal touch.
- Kid-Friendly Activity: A perfect hands-on project that doubles as a tasty treat—kids adore helping shape and decorate these.
Ingredients You’ll Need
This Christmas Tree Rice Krispies Treats Recipe relies on simple basics that work beautifully together. The key is using mini marshmallows—that way, they melt quickly and smoothly, coating the cereal perfectly. And the green gel food coloring helps you get that vibrant tree color without watering down the mix. Let’s dive into what you’ll need:
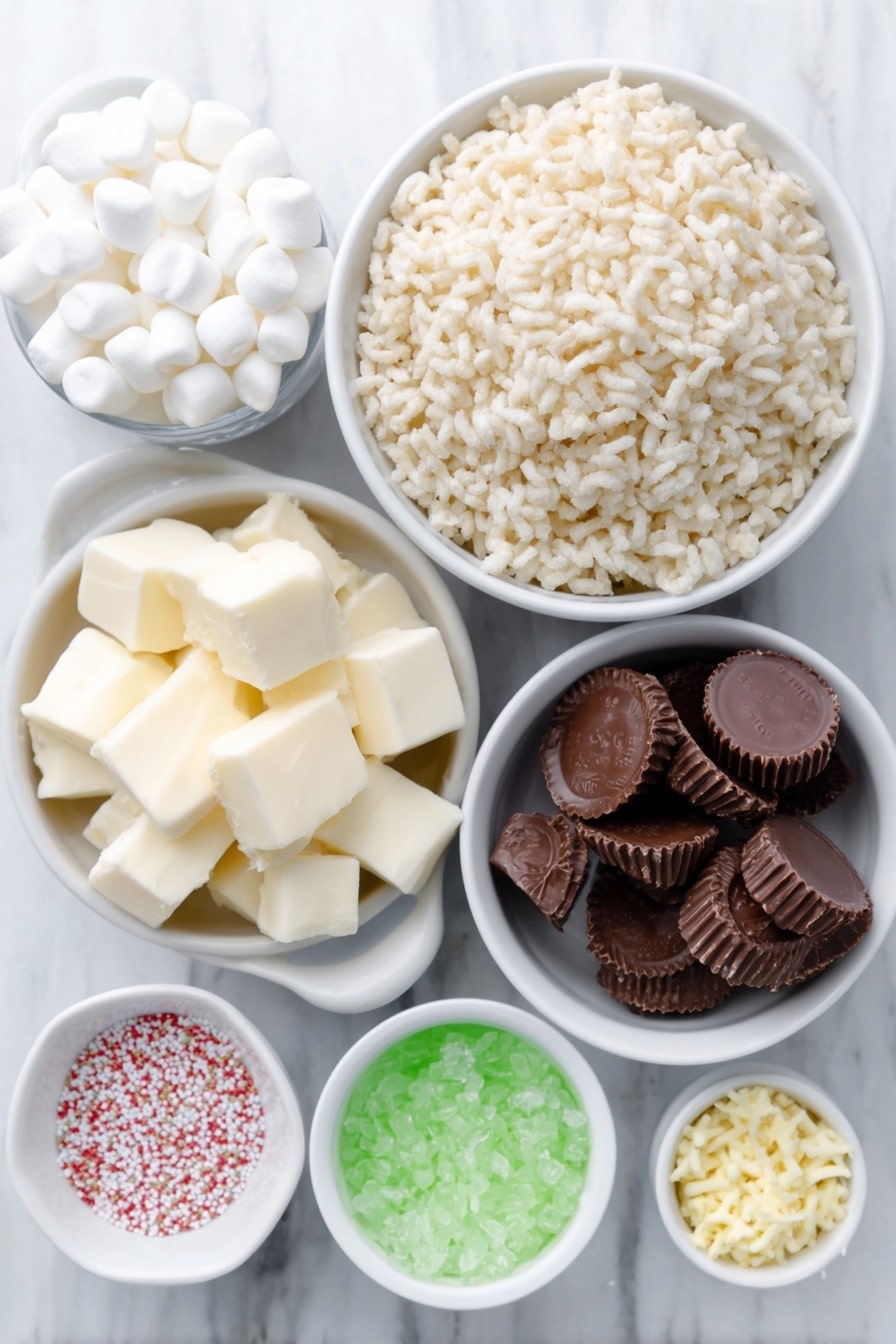
- Salted butter: Using salted gives just the right balance of flavor; I like to dice it so it melts evenly without burning.
- Mini marshmallows: These melt quicker than large ones, giving you smooth, sticky marshmallow goodness.
- Green gel food coloring: Gel is best because a little goes a long way without thinning your mixture.
- Rice Krispies cereal: Classic for that crispy, light texture – makes these treats just right.
- White decorating icing: I usually grab a tube from the store for ease, perfect for “gluing” on your toppings.
- Miniature Reese’s peanut butter cups: Unwrapped and used as “tree stumps” – adds a fun chocolate-peanut butter twist.
- Round red sprinkles: These mimic ornaments and add cheerful color.
- Star sprinkles or yellow mini M&Ms: For the tree topper – my kids insist on making these extra special!
Variations
I love this recipe because it’s so easy to make your own spin on it. Over the years, I’ve tried swapping out some decorations or playing with flavors to keep it fresh and fun. Don’t be afraid to get creative with what you’ve got!
- Nut-Free Variation: Instead of Reese’s, use mini chocolate chips or candy melts if you need to avoid nuts – still festive and delicious!
- Flavored Marshmallow Twist: Try adding peppermint extract to the marshmallow melt for a minty holiday vibe; my family goes crazy for this surprise flavor.
- Gluten-Free Option: Ensure you use gluten-free crispy rice cereal; this recipe is naturally gluten-free otherwise.
- Colored Trees: Make some blue or red fun trees using different gel colors for variety on your holiday dessert table.
How to Make Christmas Tree Rice Krispies Treats Recipe
Step 1: Melt Butter and Marshmallows
Start by melting your diced salted butter over medium-low heat in a large saucepan. I like this gentle heat because it helps avoid scorching the butter. Once melted, toss in your mini marshmallows and stir constantly until they’re completely melted and smooth. Here’s my favorite part: add the green gel food coloring bit by bit and stir until you get that perfect, festive shade of green. Don’t worry if it looks a little bright at first – it tones down once you add the cereal.
Step 2: Combine with Rice Krispies Cereal
Remove your marshmallow mixture from heat and add in the Rice Krispies cereal. Gently fold it all together using a spatula or wooden spoon until the cereal is evenly coated with the green marshmallow mixture. This part is all about being thorough but gentle—you want each cereal bit covered without squashing it all.
Step 3: Shape Your Trees
To shape your trees, spray your hands lightly with non-stick cooking spray – trust me, this keeps the sticky marshmallow from gluing itself to your fingers. Then scoop about ⅓ to ½ cup of mixture and press firmly into a cone shape to resemble mini Christmas trees. The firmer you press, the better they’ll hold their shape. I like to set them on parchment paper as I go so they don’t stick and can cool easily.
Step 4: Decorate Your Trees
Now for the fun! Use white decorating icing to “glue” on your round red sprinkles as ornaments and your star sprinkles or yellow mini M&Ms as tree toppers. For a special touch, put a little icing on the bottom of each miniature Reese’s peanut butter cup and place it under your tree as the trunk. If you want the icing to harden to hold everything perfectly in place, let the trees sit at room temperature overnight. Or, if you’re like me, just dive in and enjoy them right away!
Pro Tips for Making Christmas Tree Rice Krispies Treats Recipe
- Keep Heat Low: Melt the butter and marshmallows on medium-low to avoid burning and get a smooth melt every time.
- Less Is More with Food Color: Add gel coloring gradually—you can always darken, but it’s hard to fix if it gets too intense or runny.
- Use Cooking Spray on Hands: This little trick is a lifesaver for shaping—the mix won’t stick to your fingers, and your shapes come out clean.
- Let Treats Cool Slightly: Let the mixture cool for a few minutes before shaping so it’s easier to handle and holds better.
How to Serve Christmas Tree Rice Krispies Treats Recipe
Garnishes
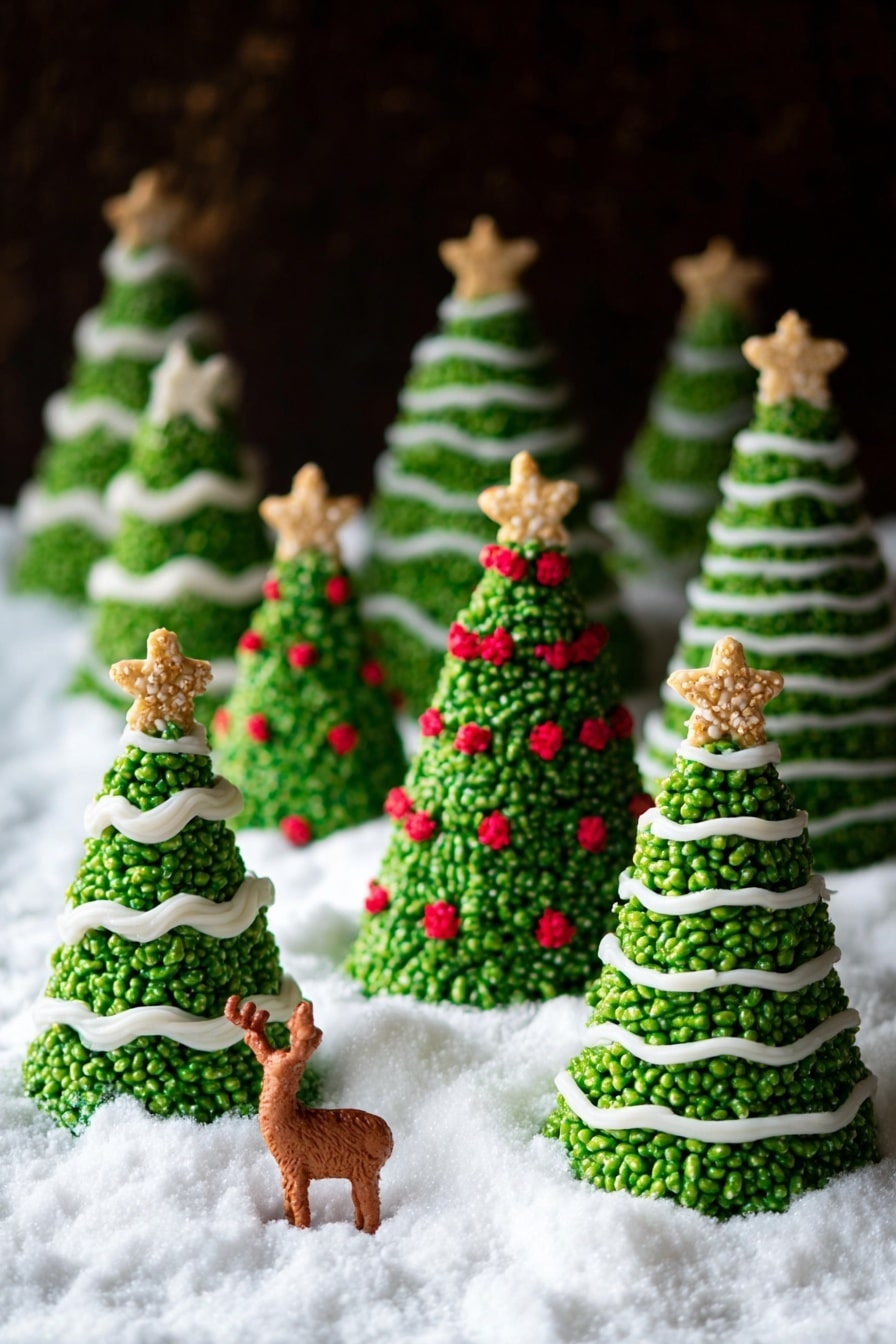
I like to keep the garnishes festive and colorful: red round sprinkles as ornaments always look charming, and a sparkling star sprinkle or a bright yellow mini M&M as the tree topper finishes it beautifully. For a little extra holiday sparkle, you can dust crushed peppermint candy around the base or add edible glitter if you want to impress the kids even more.
Side Dishes
These treats are a perfect sweet finisher alongside a warm cup of hot cocoa or eggnog. You could also serve fruit and cheese platters to balance the richness, or include them on a cookie tray for holiday parties where everyone can nibble throughout the evening.
Creative Ways to Present
I’ve found that stacking a few Christmas Tree Rice Krispies Treats on a cake stand creates an adorable mini forest centerpiece. Wrapping them individually in clear cellophane tied with festive ribbons makes lovely party favors, and placing them on holiday-themed plates or trays really elevates their presentation when hosting friends and family.
Make Ahead and Storage
Storing Leftovers
I usually store leftover treats in an airtight container at room temperature to keep them nice and chewy. Just make sure they’re not exposed to too much humidity, or they might get a little sticky. They stay great for about 3-4 days this way—though they hardly last that long in my house!
Freezing
If you want to make these ahead and freeze them, wrap each treat tightly in plastic wrap first, then place in a freezer-safe container or bag. When ready to enjoy, thaw at room temperature for about 30 minutes. The texture holds up surprisingly well, though the decorations can get a little softer.
Reheating
I don’t typically reheat Rice Krispies treats, but if you want to soften them up a bit, just pop them in the microwave for 5-10 seconds on low power. Be careful—they can get marshmallow gooey real fast! It’s best to enjoy them fresh whenever possible.
FAQs
-
Can I use regular-sized marshmallows instead of mini ones?
Yes, you can use regular marshmallows, but they may take a bit longer to melt and could cause a thicker, less smooth coating. Mini marshmallows are preferred for a quicker, even melt that helps the mixture blend seamlessly.
-
How do I keep the green color from fading?
Using gel food coloring instead of liquid keeps the color vibrant without watering down the marshmallow mix. Adding the gel gradually and stirring well will ensure the best color payoff. Also, avoid overcooking as heat can dull colors.
-
What if my treats don’t hold their tree shape?
If your mixture feels too soft or sticky, try letting it cool for a few more minutes before shaping. Press firmly when forming cones and consider chilling the shaped treats briefly to help them set faster.
-
Can I make these without peanut butter cups?
Absolutely! The peanut butter cups add a fun touch as tree trunks, but you can simply omit them or use other candies like chocolate squares or even pretzel sticks for the base.
Final Thoughts
When I first made this Christmas Tree Rice Krispies Treats Recipe, I wasn’t sure if shaping the treats into trees would be tricky, but it ended up being such a joyful process. I love how these treats brighten up the holiday table and bring everyone together for a little decorating fun. If you try them, I’m pretty sure you’ll find yourself making them year after year—it’s that kind of recipe that becomes a holiday tradition. So grab your ingredients, get comfy in the kitchen, and enjoy making your own crispy, sweet mini forests this Christmas!
Print
Christmas Tree Rice Krispies Treats Recipe
- Prep Time: 45 minutes
- Cook Time: 10 minutes
- Total Time: 55 minutes
- Yield: 16 treats 1x
- Category: Dessert
- Method: Stovetop
- Cuisine: American
Description
Celebrate the holidays with these festive Christmas Tree Rice Krispies Treats, featuring classic marshmallow and butter coated cereal shaped into trees, tinted green with gel food coloring, and decorated with colorful sprinkles and mini Reese’s peanut butter cups as bases. These easy-to-make treats are perfect for holiday parties and family gatherings.
Ingredients
Base Ingredients
- 3 Tbsp (42g) salted butter, diced into 1-Tbsp pieces
- 1 (10 oz) bag mini marshmallows
- Green gel food coloring (such as Wilton brand), to desired shade
- 6 cups (170g) Rice Krispies cereal
Decoration
- White decorating icing (store-bought)
- 16 miniature Reese’s peanut butter cups, unwrapped
- Round red sprinkles
- 16 star sprinkles or yellow mini M&Ms
Instructions
- Melt Butter: In a large saucepan over medium-low heat, melt the diced salted butter completely to create the base for the marshmallow mixture.
- Add and Melt Marshmallows: Stir in the mini marshmallows until fully melted and smooth. Add green gel food coloring gradually and mix until you reach the desired festive green shade.
- Combine Cereal: Remove the pan from heat and fold in the Rice Krispies cereal, mixing gently until the cereal is evenly coated with the green marshmallow mixture. Let it cool for about 5 minutes to make shaping easier.
- Shape Trees: Spray your hands lightly with non-stick cooking spray. Take about 1/3 to 1/2 cup of mixture and firmly shape it into cone shapes to resemble Christmas trees, ensuring they hold together.
- Decorate: Using white decorating icing, attach round red sprinkles and star sprinkles (or yellow mini M&Ms) onto the tree cones to mimic ornaments and stars. Place a small amount of icing on each miniature Reese’s peanut butter cup and position one under each tree as the tree base.
- Set: For best results, allow the icing to harden by letting the treats rest overnight. Alternatively, they can be enjoyed immediately once decorated.
- Enjoy: Serve and share your festive Rice Krispies treats at your holiday party or as a cheerful seasonal dessert.
Notes
- Spraying your hands with cooking spray helps prevent sticking while shaping the Rice Krispies mixture.
- Adjust green gel food coloring to get the vibrant color you prefer for the trees.
- Letting the decorated treats rest overnight allows the icing to set properly for cleaner presentation.
- You can substitute Reese’s peanut butter cups with other small candies if desired.
- Store treats in an airtight container to keep them fresh for up to 3 days.
Nutrition
- Serving Size: 1 treat
- Calories: 150
- Sugar: 12g
- Sodium: 105mg
- Fat: 7g
- Saturated Fat: 3.5g
- Unsaturated Fat: 3g
- Trans Fat: 0g
- Carbohydrates: 20g
- Fiber: 0.5g
- Protein: 2g
- Cholesterol: 15mg

