

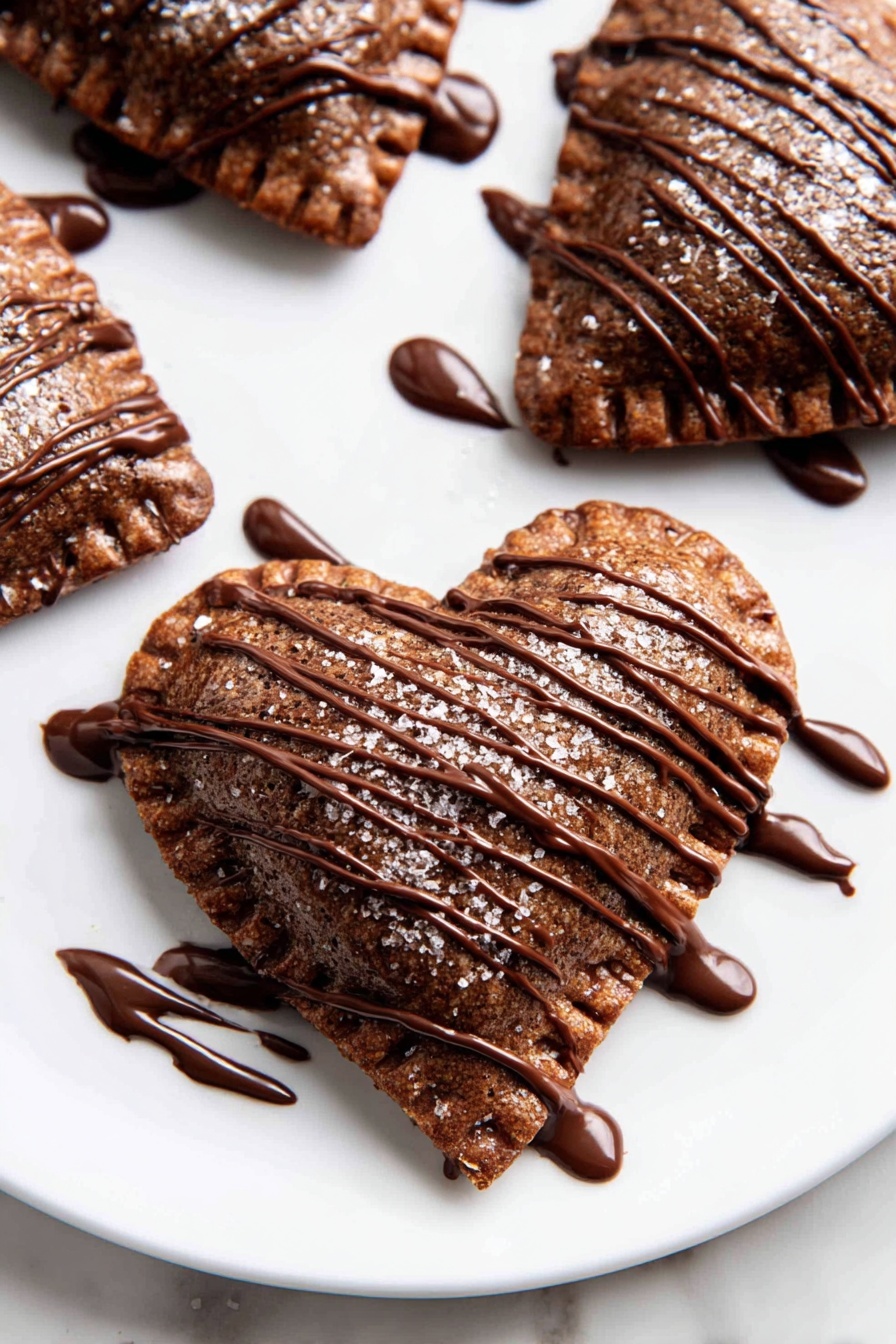
If you’re anything like me and have a soft spot for all things chocolatey and handheld, then this Chocolate Hand Pies Recipe is going to become your new go-to treat. I absolutely love how these little pies combine the flaky richness of buttery dough with the luscious, melty chocolate filling. They’re perfect for a cozy snack, impressing friends, or even gifting because who can resist a sweet, personal-sized pie?
Why You’ll Love This Recipe
- Perfect balance: The cocoa-infused dough adds a subtle chocolate note that pairs beautifully with the rich ganache filling.
- Easy to personalize: You can add peanut butter or skip it for a pure chocolate indulgence, making it great for all tastes.
- Make-ahead friendly: The dough can chill up to 5 days before baking, so you can prep in advance and bake when it’s party time.
- Impressive yet approachable: These look fancy but come together with simple techniques—trust me, you’ve got this!

Ingredients You’ll Need
Getting the right ingredients makes all the difference in this Chocolate Hand Pies Recipe. The combo of cold butter and a touch of cocoa powder creates that melt-in-your-mouth crust, while a good quality semi-sweet chocolate gives the filling its decadent flavor.

- All-purpose flour: Using spooned and leveled ensures the right dough texture without it turning tough.
- Cocoa powder: I usually go with Dutch-process for a richer, smoother chocolate flavor.
- Granulated sugar: Adds just the right hint of sweetness to balance the cocoa.
- Salt: Don’t skip it—it enhances all the chocolate notes beautifully.
- Unsalted butter: Very cold and cubed; chunks of butter create that flaky texture we love.
- Cold milk or heavy cream: I prefer heavy cream for a richer dough but milk works fine too.
- Egg for egg wash: Gives the pies a gorgeous golden sheen and helps seal edges.
- Semi-sweet chocolate: Choose a good-quality bar to chop for the filling and drizzle.
- Optional coarse sugar: Sprinkled on top, it gives a lovely sparkle and tiny crunch.
- Optional peanut butter: Adds a creamy, nutty twist for those who want to elevate their chocolate pies.
Variations
One of the things I love about this Chocolate Hand Pies Recipe is how easy it is to tweak. Whether you want to add a nutty surprise or keep it strictly chocolate, making it your own is part of the fun!
- Peanut Butter Twist: Adding creamy peanut butter into the filling is my personal favorite—my family goes crazy for that luscious combo of chocolate and nuts.
- Dairy-Free Option: Swap heavy cream for coconut cream and use dairy-free chocolate to make these hand pies friendly for dietary needs.
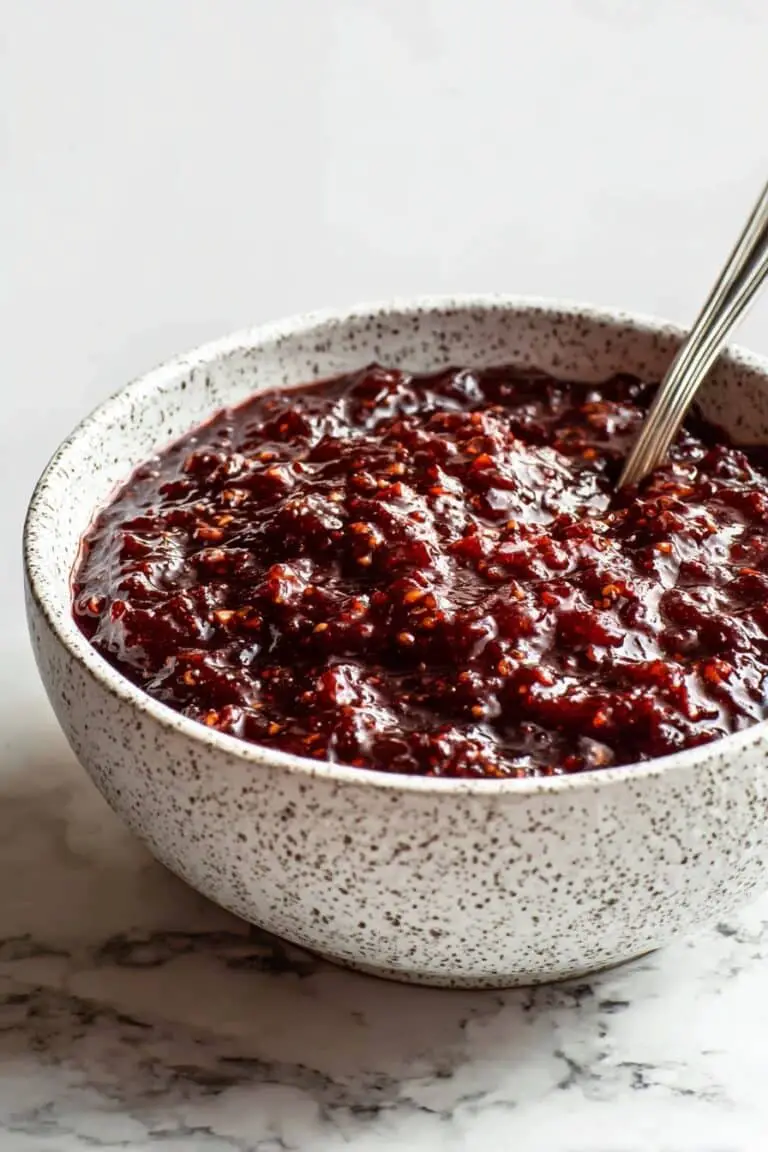
- Berry Infusion: Try mixing in a spoonful of raspberry jam with the chocolate ganache for a fruity kick that’s simply irresistible.
- Mini Hand Pies: Use a smaller cutter to make bite-sized versions perfect for parties or to freeze as individual snacks.
How to Make Chocolate Hand Pies Recipe
Step 1: Whip Up the Perfect Cocoa Dough
Start by combining flour, cocoa powder, sugar, salt, and your cold cubed butter in a food processor. Pulse until it looks like coarse crumbs. I discovered this trick when I stopped overworking the dough—it really helps keep the crust flaky!
Next, drizzle in the cold milk or cream while pulsing just enough to bring the dough together into a shaggy ball. If it feels too dry, don’t be shy about adding another tablespoon of liquid. The dough should be soft but not sticky.
Divide the dough into two discs, wrap tightly in plastic, and chill in the fridge for at least two hours or up to five days. I love having the option to prep ahead—makes baking day stress-free.
Step 2: Roll Out and Shape Your Pies
Once chilled, flour your work surface—using cocoa powder here adds an extra chocolaty touch—and roll out each dough disc to about 1/8-inch thickness. I use a 3-inch heart cookie cutter because, well, everything tastes better when it’s heart-shaped!
Cut out your shapes and chill the cutouts on baking sheets while you prepare the filling. Keeping them cold makes them easier to handle and helps the crust stay tender.
Step 3: Make That Silky Chocolate Filling
Chop your semi-sweet chocolate and place it in a bowl. Heat the cream until it just starts to boil, then pour it over the chocolate. Stir gently until smooth and shiny, forming a luscious ganache. If you’re feeling adventurous, stirring in peanut butter here adds a divine creaminess I swear by!
Let the ganache cool for about 15 minutes so it thickens slightly—this prevents your pies from becoming too gooey and helps the filling stay put once baked.
Step 4: Assemble Like a Pro
Preheat your oven to 400°F (204°C) so it’s hot and ready once your pies are assembled. Brush egg wash around the edges of half your dough shapes—that’s your glue!
Spoon filling generously onto those egg-washed shapes, top with another dough shape, and seal edges by pressing gently, then crimp with a fork to lock in all that deliciousness. Don’t skip the egg wash on top to get that stunning golden glow, plus a sprinkle of coarse sugar for sparkle if you like.
Step 5: Bake and Add the Final Chocolate Touch
Bake for about 15 to 18 minutes. Keep an eye out—the edges will be set, but the tops might still look a bit soft, which is just perfect! Let the pies cool for 10 minutes so the filling firms up a bit.
While cooling, melt your drizzle chocolate and oil, adding peanut butter if you want extra richness. I love drizzling the warm chocolate over my pies with a spoon or even a piping bag for a pretty finish.
Pro Tips for Making Chocolate Hand Pies Recipe
- Keep Ingredients Cold: Cold butter and cold liquids are key—it keeps your crust flaky, so handle dough quickly and chill whenever possible.
- Don’t Overfill: Spoon just enough filling to avoid spills and difficult sealing. I learned the hard way that less is more with these pies.
- Chill Dough Cutouts: Keeping pie shapes chilled before assembly helps prevent shrinking or warping during baking.
- Use an Egg Wash: It’s a small step with a big payoff—gives your pies that irresistible golden color and seals edges beautifully.
How to Serve Chocolate Hand Pies Recipe
Garnishes
I like to keep garnishes simple—just a drizzle of melted chocolate over the top is my signature move. Sometimes I’ll sprinkle a few flaky sea salt crystals to elevate the chocolate’s richness even more, which never fails to impress guests.
Side Dishes
These hand pies pair wonderfully with a scoop of vanilla bean ice cream or a dollop of whipped cream for an indulgent dessert. I also enjoy serving them alongside a hot cup of coffee or mint tea to balance the richness.
Creative Ways to Present
For special occasions, I like arranging these hand pies on a tiered dessert stand, adding some fresh berries and edible flowers for color. Holiday cheer? Dust them lightly with powdered sugar or spice the crust with cinnamon for a festive twist.
Make Ahead and Storage
Storing Leftovers
Leftover hand pies keep well at room temperature for up to two days, which is what I usually do when serving guests. For longer storage, I pop them in an airtight container in the fridge where they hold up to a week without losing their charm.
Freezing
I’ve frozen these pies both before and after baking. Before baking, freeze them on a tray then transfer to a bag; bake straight from frozen, adding a couple minutes to the bake time. After baking, wrap individually to keep them fresh. Either way works great when you want to prep ahead.
Reheating
To reheat, I gently warm the hand pies in a 350°F oven for 8 to 10 minutes. The crust crisps right back up, and the chocolate filling turns luscious again. Avoid the microwave if you want to keep that perfect texture.
FAQs
-
Can I make the dough ahead of time?
Absolutely! In fact, chilling the dough for at least two hours and up to five days helps develop flavor and makes rolling much easier. Just keep it tightly wrapped in the fridge until you’re ready to use it.
-
What type of chocolate is best for the filling?
Semi-sweet chocolate bars work wonderfully for this recipe, offering that perfect balance of sweetness and richness. Quality matters here—choose a brand you like eating on its own for best results.
-
Can I make these hand pies vegan?
Yes! Use a plant-based butter substitute, almond or oat milk in place of dairy, and make sure your chocolate is dairy-free. You may want to double-check the egg wash step or replace it with a plant milk glaze to achieve that golden color.
-
Why is my dough not flaky?
This often happens if the butter is too warm or if the dough is overworked. Always use very cold butter, pulse dough just enough to combine, and chill it before rolling to ensure flaky layers.
-
Can I use store-bought pie crust instead?
You could, but the cocoa-infused dough adds a delicious layer of flavor that really makes these hand pies special. If you try store-bought, consider brushing cocoa powder lightly on the surface or adding a touch of cocoa to your filling to keep that chocolatey vibe.
Final Thoughts
When I first tried this Chocolate Hand Pies Recipe, I was hooked immediately—the perfect flaky crust paired with warm, melting chocolate in such a cute package is just irresistible. What I love most is how easy it is to adapt and make your own, whether you’re a peanut butter fan or prefer classic chocolate. These pies bring a little moment of joy every time I bite into one, and I have no doubt you’ll enjoy baking and sharing them as much as I do. Give this recipe a try, and watch it become one of your favorite chocolate treats to make and savor!
Print
Chocolate Hand Pies Recipe
- Prep Time: 2 hours 45 minutes
- Cook Time: 18 minutes
- Total Time: 3 hours 3 minutes
- Yield: 14 hand pies (3-inch each) 1x
- Category: Dessert
- Method: Baking
- Cuisine: American
Description
These decadent Chocolate Hand Pies are a delightful treat featuring a rich cocoa pastry filled with smooth chocolate ganache and an optional hint of creamy peanut butter. Perfectly flaky and beautifully shaped into charming hearts, these hand pies are ideal for sharing at any celebration or as a special dessert. The process involves making a chocolate dough, chilling it, preparing a luscious ganache filling, assembling, baking to golden perfection, and finishing with a rich chocolate drizzle.
Ingredients
Dough
- 2 and 1/4 cups (281g) all-purpose flour (spooned & leveled)
- 1/4 cup (21g) unsweetened natural or dutch-process cocoa powder
- 2 Tablespoons (24g) granulated sugar
- 1 teaspoon salt
- 1 cup (16 Tbsp; 226g) unsalted butter, very cold and cubed
- 1/2 cup (120ml) cold milk or heavy cream, plus more as needed
- Egg wash: 1 egg beaten with 1 Tablespoon (15ml) milk or heavy cream
- Optional: 2 Tablespoons coarse sugar for topping
Filling
- One 4 ounce bar (113g) semi-sweet chocolate, coarsely chopped
- 1/2 cup (120ml) heavy cream
- Optional: 2 Tablespoons (31g) creamy peanut butter
Topping
- 2 ounces (57g) semi-sweet chocolate, coarsely chopped
- 1 teaspoon canola or vegetable oil
- Optional: 1 Tablespoon (16g) peanut butter
Instructions
- Make the Dough: Place the flour, cocoa powder, sugar, salt, and cubed butter into a large food processor. Pulse 15-20 times until coarse crumbs form. Alternatively, use a large bowl and pastry cutter. Slowly drizzle in the cold milk or cream while pulsing or stirring until the dough is slightly shaggy and soft. If too dry, add an extra tablespoon of milk or cream. Avoid overworking the dough. Divide dough in half, form each into 1-inch thick discs, wrap tightly in plastic wrap, and refrigerate for 2 hours to 5 days.
- Roll and Cut Dough: On a floured surface (flour or cocoa powder), roll out each dough disc carefully with a rolling pin. Cut into 3-inch heart shapes using a cookie cutter. Re-roll scraps as needed. Refrigerate the heart shapes on baking sheets while preparing the filling.
- Prepare Filling: Place chopped semi-sweet chocolate into a large bowl. Heat heavy cream in a small saucepan over medium heat, stirring occasionally. When cream starts boiling, remove from heat and immediately pour over the chocolate. Stir gently with a wooden spoon until smooth ganache forms. Stir in peanut butter if using. Let cool for 15 minutes to thicken.
- Preheat Oven: Preheat oven to 400°F (204°C).
- Assemble Hand Pies: Remove dough hearts from refrigerator. Place on two large baking sheets. Brush edges of half the hearts with egg wash. Spoon filling onto these hearts, then cover with remaining hearts, lightly stretching top hearts if needed. Press edges to seal and crimp with a fork. Brush tops with egg wash and sprinkle coarse sugar if desired.
- Bake: Bake hand pies for 15-18 minutes until edges are set but tops may remain slightly soft. Remove and let cool for 10 minutes before decorating.
- Make Chocolate Drizzle: Melt chopped chocolate and oil (and peanut butter if using) together in the microwave in 20-second increments, stirring after each until smooth. Alternatively, melt in a double boiler. Drizzle melted chocolate over cooled hand pies.
- Store: Store leftover hand pies covered at room temperature for up to 2 days or refrigerate for up to 1 week.
Notes
- Use very cold butter and cold milk or cream to ensure flaky dough texture.
- Can substitute milk with heavy cream for richer dough.
- Peanut butter in filling and drizzle is optional but adds a delicious nutty contrast.
- Use cocoa powder for dusting surface instead of flour to enhance chocolate flavor.
- Carefully seal edges to prevent filling leakage during baking.
- Refrigerate dough discs up to 5 days in advance to save time.
- Hand pies are best eaten within a few days for optimal freshness.
Nutrition
- Serving Size: 1 hand pie (approx. 60g)
- Calories: 220
- Sugar: 14g
- Sodium: 110mg
- Fat: 14g
- Saturated Fat: 8g
- Unsaturated Fat: 5g
- Trans Fat: 0g
- Carbohydrates: 22g
- Fiber: 2g
- Protein: 3g
- Cholesterol: 35mg


